I am drawn to flea markets, garage sales and antique malls like a moth to a flame. You never know what you might find. So, needless to say, I've accumulated a lot of interesting stuff. For this project, I decided to put my stash to use. Since the majority of what I use is vintage, what you use may not be the same. My supply list is enclosed simply
as a guide.
Materials / Supplies needed:
Tools:
Purple Cows 1060 Trimmer
Paint Brushes
Scissors
Crop-a-dile
Sizzix and Flower dies
Supplies:
Vintage: ceiling tile, Christmas ornament, sheet music, book pages, jewelry, ribbon, lace, beaded pieces
Prima: flowers, center kisses (crystals), Petite Fleur vines, chipboard alphas
Tattered Angels: Chipboard, glimmer mist
Ranger: Distress Inks, Glossy Accents, Liquid Pearls
Plaid: glitter (clear), Mod Podge
Instructions:
1. Decide what orientation your wall hanging will have: landscape or portrait. I chose portrait for mine.
2. Mod Podge book pages and sheet music pieces randomly over the ceiling tile. I laid mine out to highlight the aged paint still on the tile as well as the raw tin and rusted surfaces.

3. Cover the chipboard alphas with glossy accents and cover in glitter. Let dry. Shake off excess when dry. Spray with glimmer mist and let dry.

4. Use distress ink to highlight chipboard shape(s) and mod podged paper on ceiling tile. Let dry. Add detail to chipboard shape(s) with liquid pearls.

5. Use Sizzix to punch out numerous flower shapes of various sizes. Layer to add depth to your flowers, crumple some also.

6. Decorate outer edges of tile with flowers, vines, chipboard shape(s), jewelry, ribbon, lace, beaded pieces and crystals.

7. Add word down the middle of tile.
8. Punch holes, string ribbon to hang.

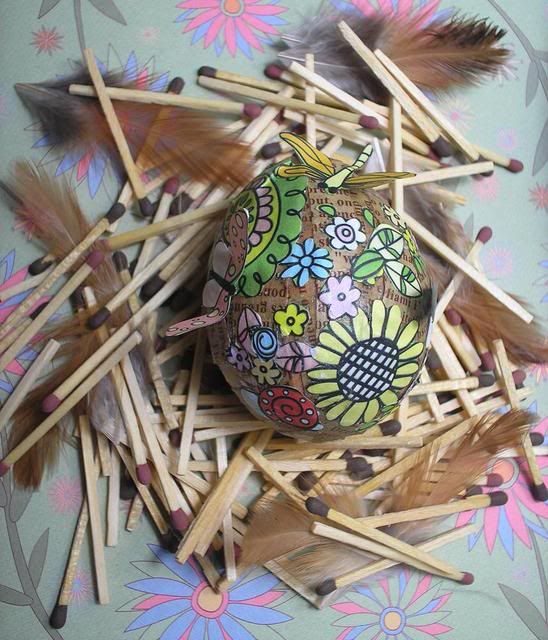
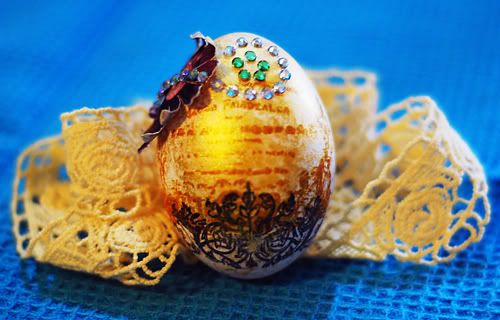
Here are our takes for this tutorial.

Do share your take with us, email us at
artzdescrap@yahoo.com.sg