Completely undo a noodlebox by carefully removing the wire handle.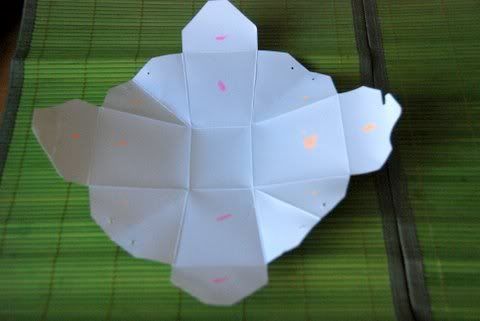
Using a highlighter, I marked the inside of the noodlebox to reflect which of the sides was visible on the outside. Using a pink highlighter, Ihighlighted the side and bottom panel. Using an orange highlighter, I highlighted the front & back of the noodlebox as well as the side flaps.
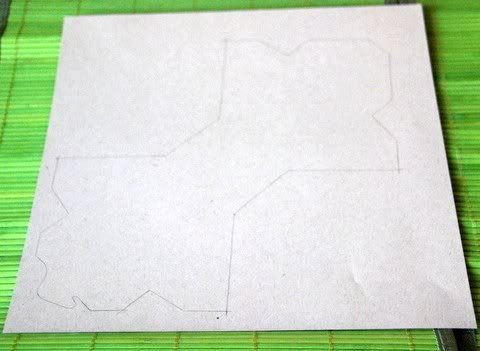
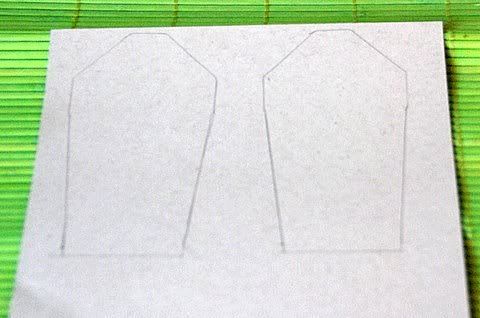
Then use a pencil to trace a 'pink highlighter - side panel' template and an 'orange highlighter - main' template directly on the inside of two pieces of pp.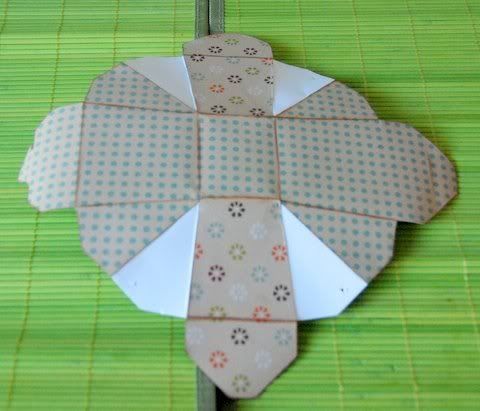
Cut out and then adhere the smaller of the templates (the side paneltemplate) to the outside of the noodle box. Make sure you run adhesive tape to the very edges of the noodlebox and on the actual creases. Then fold to make the corresponding creases and ink all the folds. Now adhere the larger of the template (main template), fold and ink.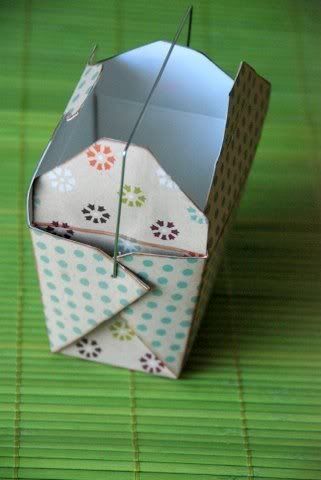
Fold up your noodlebox and then carefully reinsert the wire handle. Decorate and embellish as you like and finish off with a ribbon bow on the handle.
To speed up this process if you are mass producing these noodleboxes for say a child's party, bonbonniere, office party etc.you can just leave the noodlebox assembled and just focus on decorating the main front and back of the noodle box. My pink noodle box was completed in under 10 mins using up materials from my scrap box.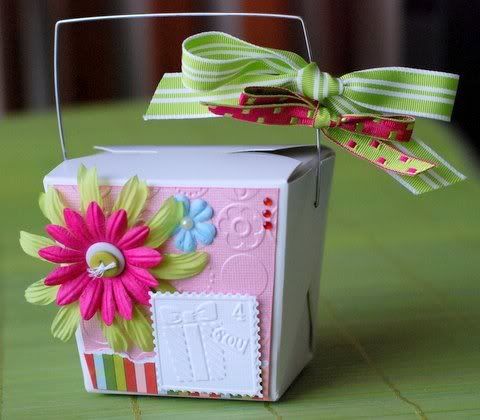
Firstly I just made a simple template for the front & back (identical). I then jazzed up some plain pink bazzill bling by embossing it using my cuttlebug. Cut it down to size using my template. Don't stick onto the noodlebox yet, just finish embellishing and decorating until the front and back are done as you like..then once it's finished..stick to the noodle box. Doing it this way, you can make lots of decorated pieces before you stick them to the noodleboxes.
I tend to use flowers as I am guilty of buying way too many than I use on layouts. This is a perfect way of quickly adding colour and beauty. I've also used my cuttlebug to diecut & emboss a 'postage stamp' embellishment and then just 'popped' it by using some foam tapes.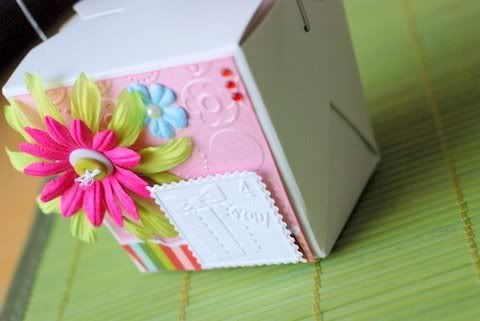
I hope that you've enjoyed this little tutorial and I'd love to see your creations!!
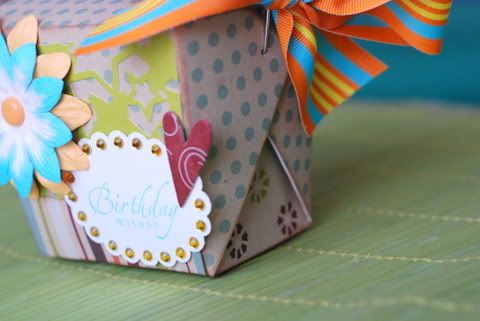
These are our takes on the tutorial
We would love to see your take on this tutorial.
Do share it with us, email us at artzdescrap@yahoo.com.sg
Happy Altering!!!



4 comments:
Woohoo!!! Fantastic tutorial!!
Would so love to have a go at this!!
Thanks for sharing this lovely tutoria, Ruey!!
wow ladies i really am in awe when i saw how one tutorial would inspire us to create different noodle box and turn it into one masterpiece! lol . thanks to our inspirational scrapper!!!
Yay! Thanks Ruey for such a great tutorial! I had fun doing up mine and I love Cabbie's & Felicia's take on this!
I love ! :D It's so funny ! Thanks
Post a Comment