Supplies Required
Melissa Frances Paper
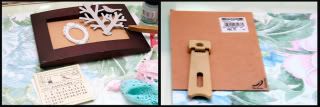
Melissa Frances Vintage Frame
Jeni Bowlin Mini Calendar Set
Music Sheet
Fancy Pants Pink Polka Dot Ribbon
Wooden Frame (fit for a 4x6 photo)
Maya Road tree and bird chipboard white,
country blue, pink, and gold acylic paint
7 gypsies gold wax
Lace Prima flowers and brad
Tools Required: Foam Brush , Glue , Hole Puncher & Heat Gun
Step 1: remove the glass from the frame and cover the backing with patterned paper
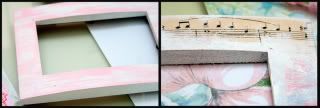
Step 2: Paint the frame with white acrylic paint. Once dry, add some pink and blue paint for a weathered look.
Step 3: Use white paint as glue and paint the back side of torn music sheet and adhere to the frame. Paint the edges of the music sheet with white to make it blend in with the frame.
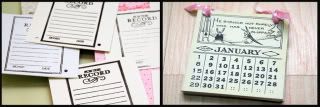
Step 4: Punch holes on the calendar sheets and stamp the back of the calendar sets with a journaling stamp. Be sure to use also the last piece (product packaging) of the set and stamp at the blank side. Make sure to flip the calendar the right way before stamping so that when you lift the card upwards the print is correct.
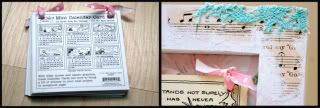
Step 5: Tie the calendar sets loosely with pink ribbon. The front and back of the set should look like the photos below.
Step 6: Add some light blue lace on the upper right corner of the frame again using white acrylic paint as adhesive.
Step 7: Paint the trees with white acrylic paint and add a little distressing powder and set with heat gun.
Step 8: Paint the bird with gold. Add the feather using melted gold wax. Add bling for the eye.
Step 9: On the lower left corner add the applique, lace, flowers and brads.
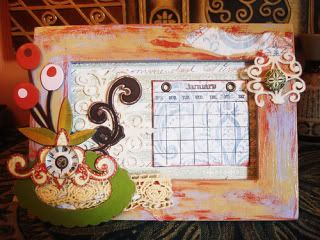
And.....here are our takes
Cabbie's
Felicia's
Liza's
We would love to see your take on this tutorial.
Do share it with us, email us at artzdescrap@yahoo.com.sg
Happy Altering!!!








No comments:
Post a Comment