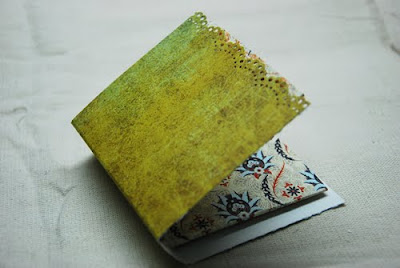
For the outer cover ( cardstock ) : 3 ½ x 7 inches
For the inner holder ( pattern paper ): 6 ½ x 7 inches
Scor‐it or any scorer
Embellishments/ die cuts
Ribbon
Double-sided tape
Instructions:
1. Prepare your papers.

2. Score the cardstock at 3 ½ and 4 ¼.

3. Fold the scored area.

4. Score the pattern paper with the shortest side on the upper portion, at ½ inch and at 3 ½.

5. Fold the scored ½ inch area and fold the remaining scored area just enough to close.

6. Adhere double sided tape on the ½ inch area.

7. Fold over so that the folds appose each other.

8. Place the folded pattern paper horizontally ( the adhered part facing you) and score at 3 ½ and 4 ½. This will create a 1 inch space on the middle. Fold it.


10. Adhere the folded pattern paper to the cardstock. Be sure to check if it is centered.

11. Use puncher for the outer edges.


FINISHED PRODUCT : you can add embellishments like diecuts or chipboards. Tie the note holder with ribbon.

Here are our takes for this tutorial.
Do share your take with us, email us at artzdescrap@yahoo.com.sg


1 comment:
Ohhh love that!!
Post a Comment