Showing posts with label Tutorials. Show all posts

Monday, May 16, 2011

Cupcake Stand Tutorial & Challenge

Materials and Supplies required:
- 3 Round Styrofoam Forms
- Glossy Accents
- Ribbon Spools
- Paint
- Border Punch
- Paper and embelishments of your choice

1) Measure your styrofoam pieces

2) Cut desired Paper according to Measurements (I used Flights Of Fancy By Prima).

3) Adhere paper to styrofoam pieces ( I adhered black paper on the bottom for a cleaner look)

4) Cut contrasting paper into 1 1/2 inch strips

and then punch the edge with a boarder punch of your choice and adhere to the sides of each paper covered round styrofoam piece (this will hide the edge)


5) Stack your ribbon spools to the desired height and glue together


6) Now Paint and adhere spools to the center of each covered round foam circle stacking your round styrofoam pieces in tiers


7) Embelish and fill with yummy cupcakes!!!


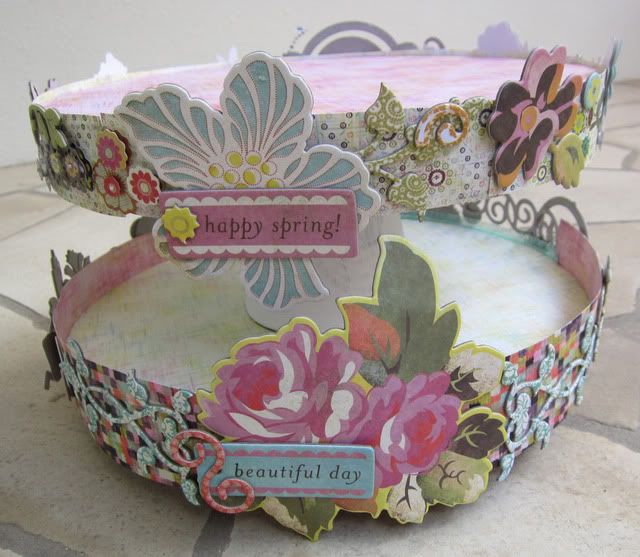
The Finished Cupcake Stand!


Here's our take to the tutorial and challenge:
Cabbie's Cupcake Stand!
(to be updated shortly)

Felicia's Cupcake Stand!
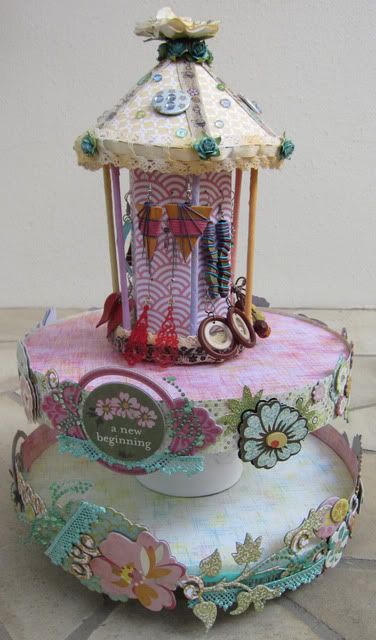


Vicki's Cupcake Stand!
(to be updated shortly)

Now that you've seen all of our takes, do share with us your creative ideas on the challenge!!! You have till Tuesday 14th June 2011 Midnight Eastern Time.

International scrappers are most welcome to join in.

Saturday, April 16, 2011

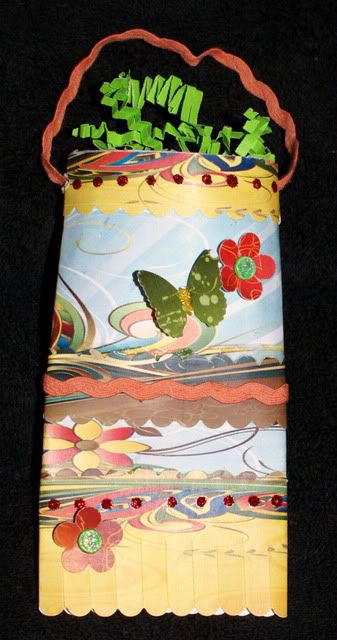
Whimsy Pocket Tutorial & Challenge

Recycling at its best! A fun and economical way to make a cute gift card, trinket, or note pocket.

Supplies :

Cardboard paper tube (paper towel or toilet tissue)

Adhesive

Scissors and trimmer or ruler

Pen

Clothespins

Small hole punch


1. Measure tube to 3.5 inches and mark with pen.


2. Flatten tube and cut with scissors on line.


3. Glue one end of tube and secure with clothespins.


4. Trim a 3.5 x 6 inch piece of pattern paper and glue around tube.


5. Decorate as desired. Punch holes on sides with punch and attach ribbon to hang.


Here are our takes on the tutorial...

Cabbie's Whimsy Pocket!


Felicia's Whimsy Pocket!

(To be updated shortly)


Vicki's Whimsy Pocket!


Now that you've seen all of our takes, do share with us your creative ideas on the challenge!!! You have till Saturday 14th May 2011 Midnight Eastern Time.


International scrappers are most welcome to join in.

Wednesday, March 16, 2011

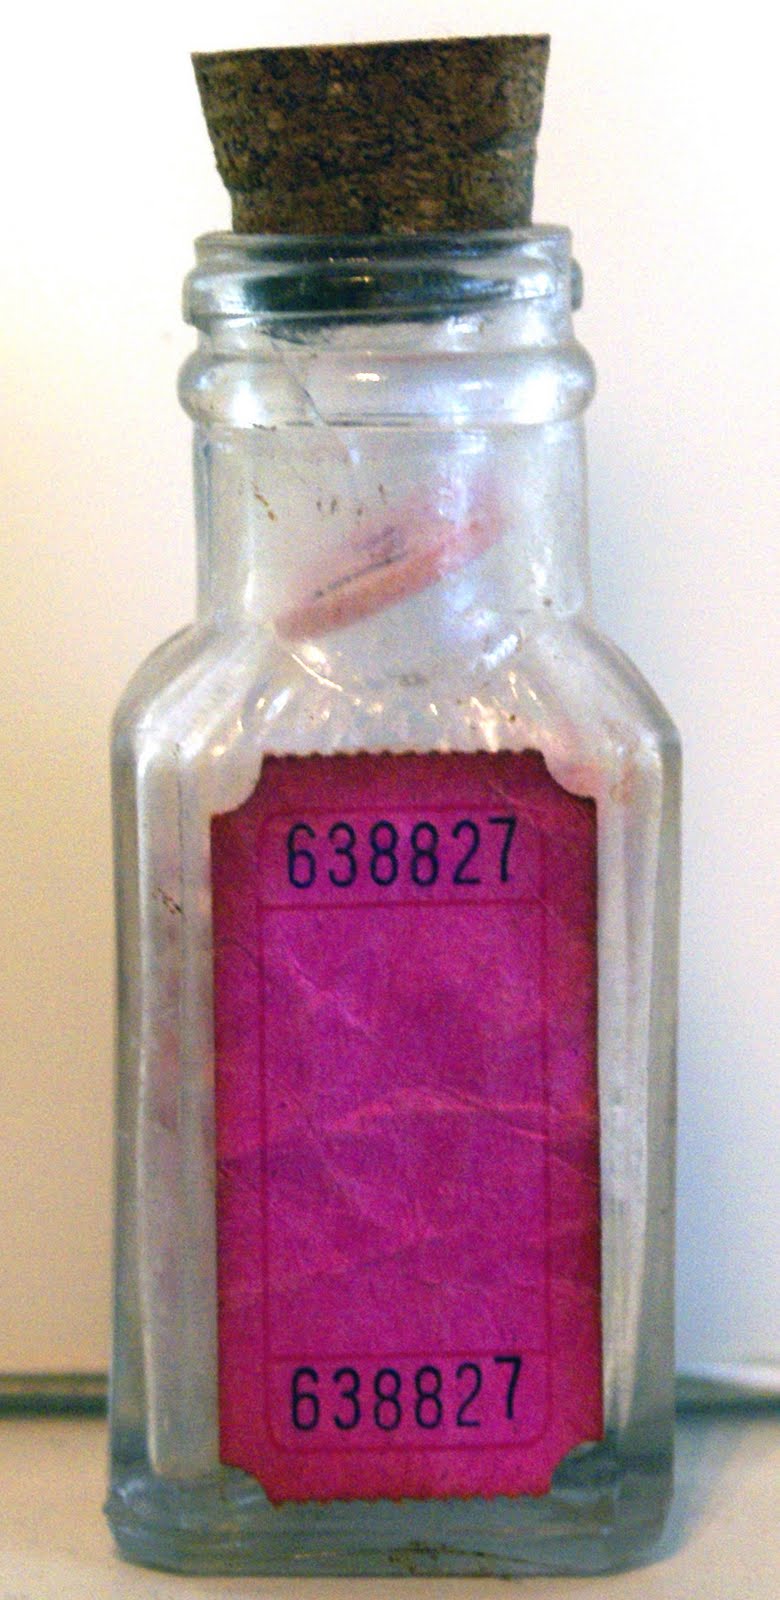
Vintage Bottle Tutorial & Challenge

Have a special someone who appreciates vintage items? Like an idea for a quick, handmade gift? How about vintage glass containers? Here’s a little project combining old and new for a refreshing gift idea. Tools and Supplies : · A vintage glass container (preferably small) · Ephemera i.e. labels, tickets, sheet music · Small tag · Copper · Metal lettering kit · Vintage fabric or lace · Vintage buttons · Alcohol ink · Distress ink · Small cork 1) Clean out your container and dry thoroughly.

2) Create a label using ephemera and attach to front of container. 3) Distress tag with distress inks to taste.

4) Create a metal tag saying “buttons”, distress with alcohol inks and attach to tag front.

5) Fill vintage container with old or new buttons, cork to close, tie tag to container throat.

6) Give to someone special or keep for yourself!

Here are our takes on the tutorial...


Cabbie's Vintage Bottle!


(To be updated shortly)

Felicia's Vintage Bottle! (To be updated shortly)

Vicki's Vintage Bottle!

Now that you've seen all of our takes, do share with us your creative ideas on the challenge!!! You have till Thursday 14th April 2011 Midnight Eastern Time.

International scrappers are most welcome to join in.

Tuesday, February 15, 2011

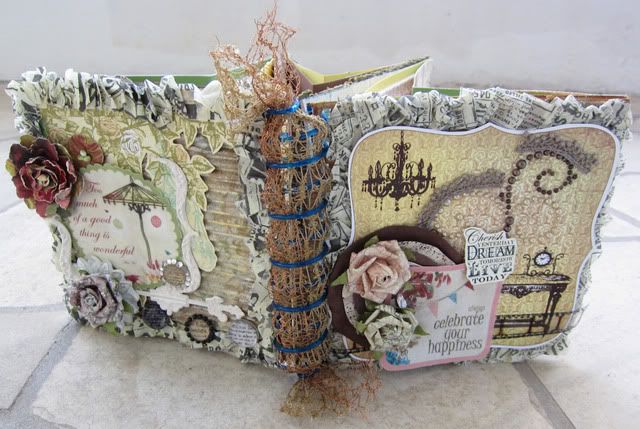
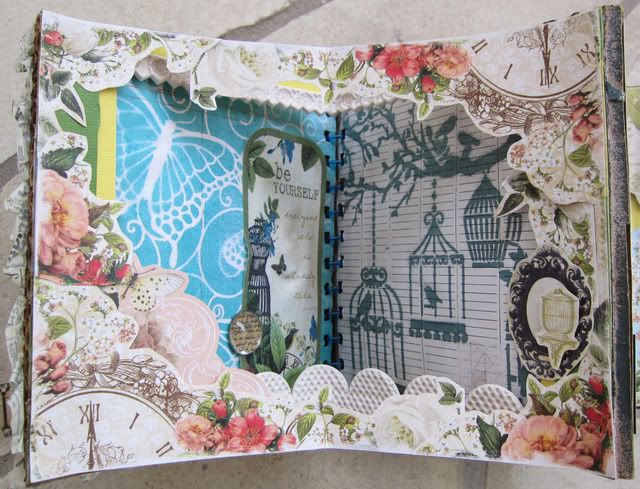
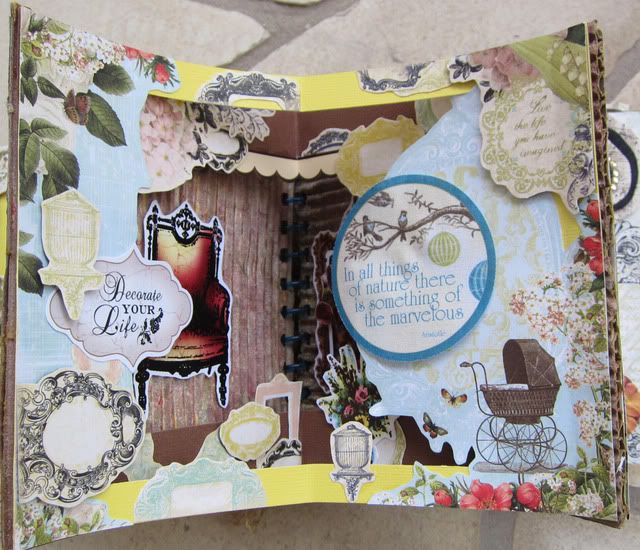
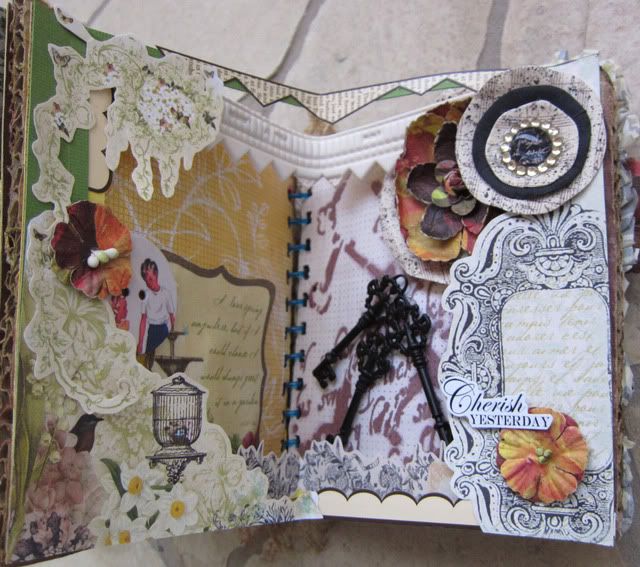
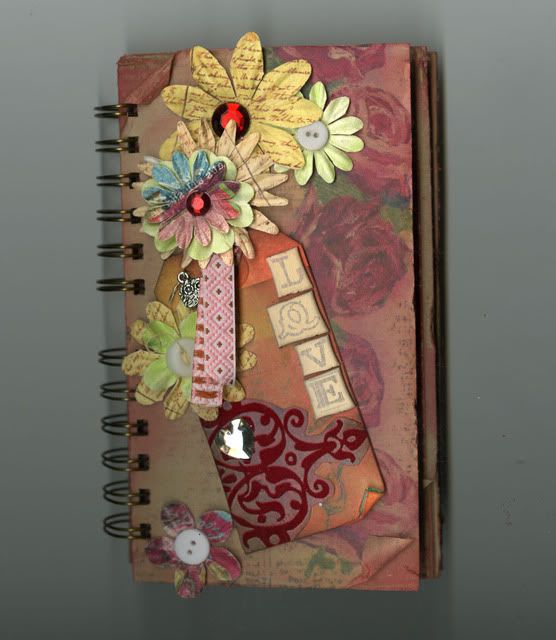
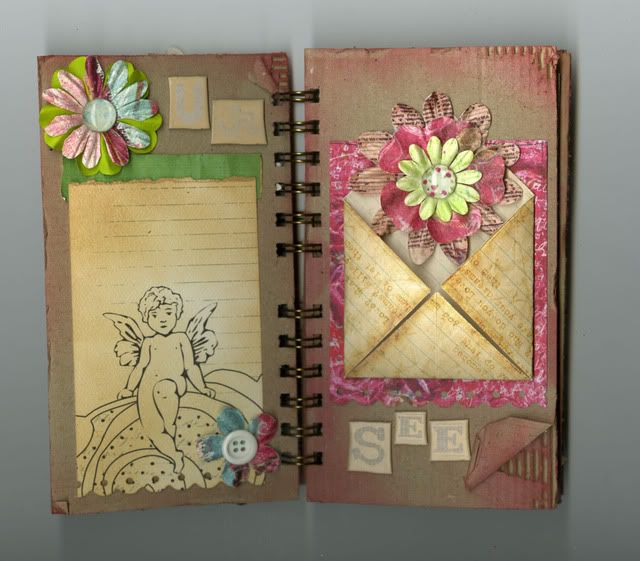
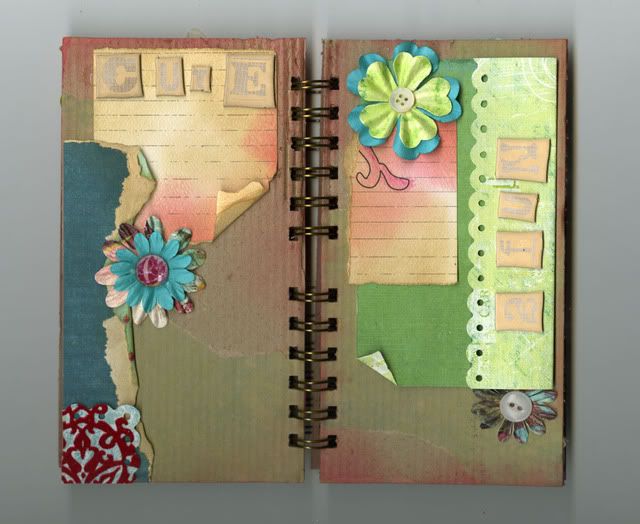
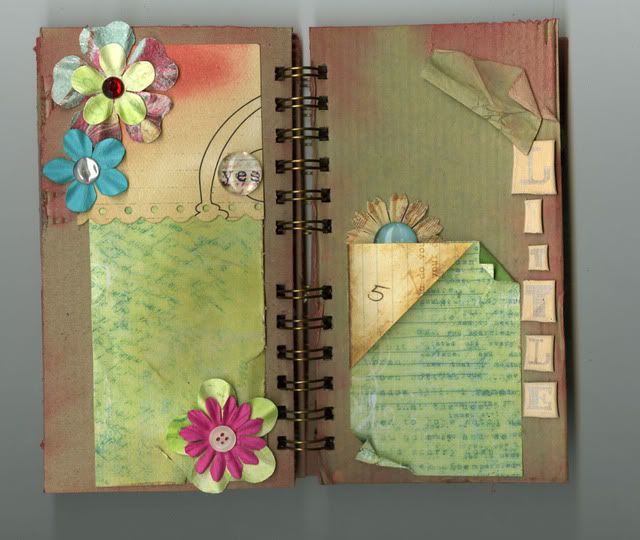
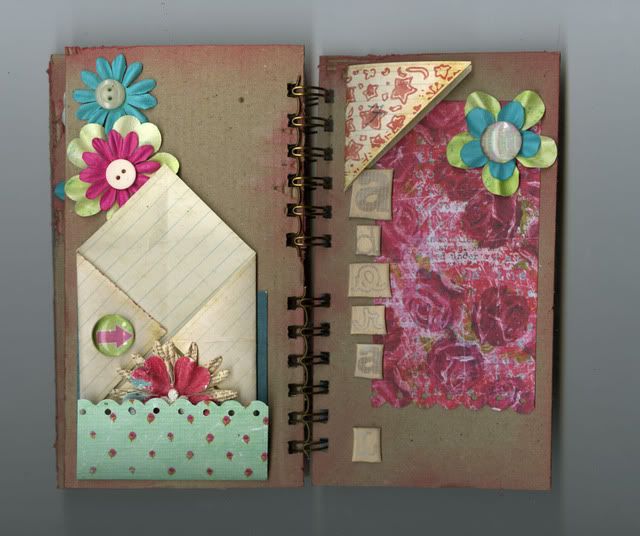
Handmade Album Tutorial & Challenge

Tools and Supplies :
Corrugated Cardboards - 4 nos. of 6"x6"
Cardstocks - 3 nos. of 6"x10", 3 nos. of 6"x8"
Mists
Inks
Misting Stencils
Patterned Papers
Other Embellishments: Flowers, Ribbons, Tapes, Blings
Bind-It-All Zutter Machine
Binder Ring

Instructions:
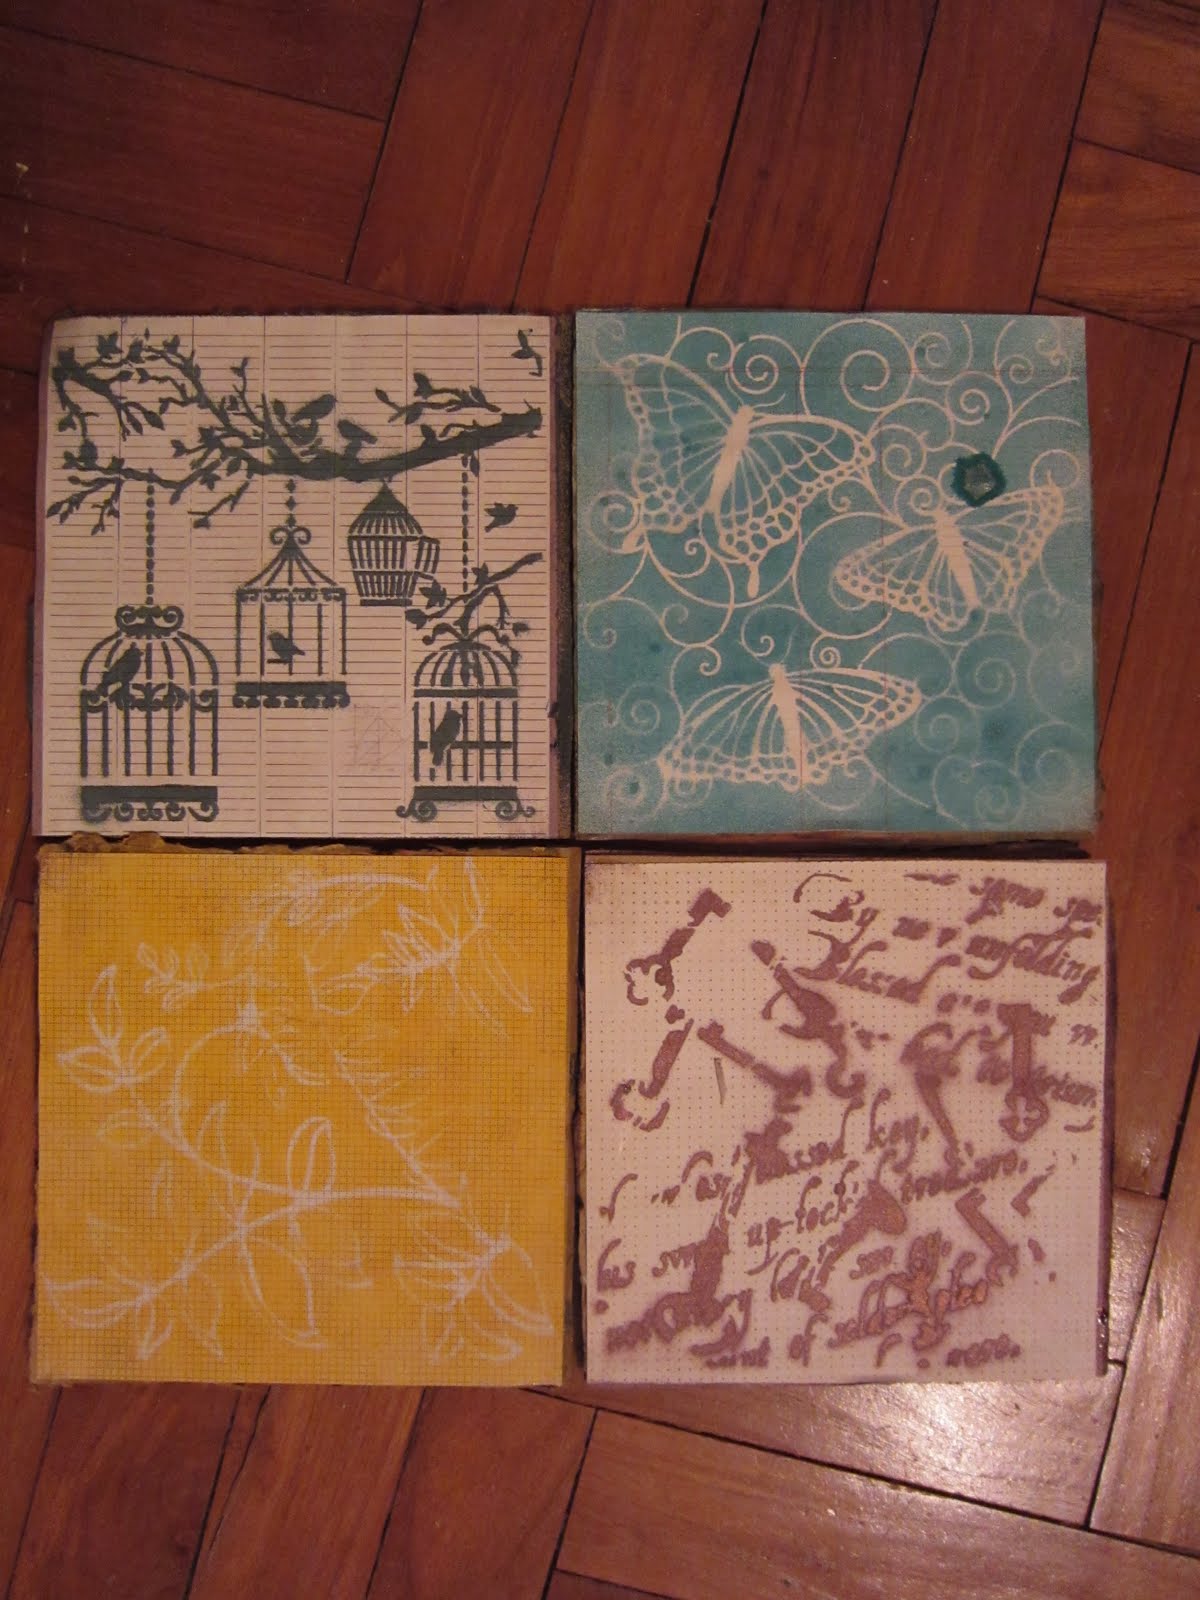
1) Mist and ink one side of the 4 corrugated cardboards. Let the colours mix by misting with water.

2) Once dry, use a misting stencil to create a pattern on the corrugated cardboard.

3) Adhere PP to the other side of the corrugated board.

4) Use the misting template and mist the pattern over the PP.

Do the same for the other 3 pages.

5) Bind the pages together using the Zutter tool.
6) 6"x10" - Create a border of 1" at the top and the 2 sides. Score 0.5" on the 2 sides of the cardstock. Fold the border into half.

6"x8" - Create a border of 1.5" at the top and the 2 sides. Score 0.5" on the 2 sides of the cardstock. Fold the border into half.
a) Adhere the 2 cardstocks together only at the 0.5" on the 2 sides of the cardstock. The 6"x8" should be in front of the 6"x10" cardstock.

7) Adhere the border cardstocks to the album pages as shown in the photo below.


8) The base of the album is now completed! Go ahead and embellish the pages.

Here are our takes on the tutorial...

Cabbie's Handmade Album!

(To be updated shortly)

Felicia's Handmade Album!


Vicki's Handmade Album!


Now that you've seen all of our takes, do share with us your creative ideas on the challenge!!! You have till Monday 14th March 2011 Midnight Eastern Time.

International scrappers are most welcome to join in.

Saturday, January 15, 2011

Gift House Tutorial & Challenge

Supplies :
Heavy weight pattern papers - a 12"x5" piece (house)
two 4"x4" pieces (roof and pot holder)
Chipboard alphas

Instructions:
House
1. Copy this house template and cut out. You can use the 0.5" label edge of the paper as the glue tab.

2. Crease along the foldlines and glue the tab to form the house.

3. Fold a 4"x4" paper in half for the roof - add some trim to the long edges if you like.

Plant Holder
1. Copy this holder template for a 2" size pot.
2. Cut the along diagonal lines inside the circle.
3. Push the diagonal tabs away to open up the circle.
4. Crease along all other foldlines to form the holder. Glue the corners to secure.
5. Insert the pot and mark the pot rim line on the tabs

6. Cut the tops of tabs off along the marked rim lines.


7. Insert into the bottom of the house and mark the space between the piers.

8. Cut out the marked space between the piers
9. Your project is complete ready to be presented as a gift!


Here are our takes on this Gift House tutorial & challenge.
Cabbie's Gift House


Felicia's Gift House

Vicki's Gift House


Now that you've seen all of our takes, do share with us your creative ideas on the challenge!!! You have till Monday 14th February 2011 Midnight Eastern Time.
International scrappers are most welcome to join in.