Corrugated Cardboards - 4 nos. of 6"x6"
Cardstocks - 3 nos. of 6"x10", 3 nos. of 6"x8"
Mists
Inks
Misting Stencils
Patterned Papers
Other Embellishments: Flowers, Ribbons, Tapes, Blings
Bind-It-All Zutter Machine
Binder Ring
Instructions:
1) Mist and ink one side of the 4 corrugated cardboards. Let the colours mix by misting with water.

2) Once dry, use a misting stencil to create a pattern on the corrugated cardboard.

3) Adhere PP to the other side of the corrugated board.

4) Use the misting template and mist the pattern over the PP.

Do the same for the other 3 pages.
6) 6"x10" - Create a border of 1" at the top and the 2 sides. Score 0.5" on the 2 sides of the cardstock. Fold the border into half.
6"x8" - Create a border of 1.5" at the top and the 2 sides. Score 0.5" on the 2 sides of the cardstock. Fold the border into half.
a) Adhere the 2 cardstocks together only at the 0.5" on the 2 sides of the cardstock. The 6"x8" should be in front of the 6"x10" cardstock.
7) Adhere the border cardstocks to the album pages as shown in the photo below.
8) The base of the album is now completed! Go ahead and embellish the pages.
Here are our takes on the tutorial...
Cabbie's Handmade Album!
(To be updated shortly)
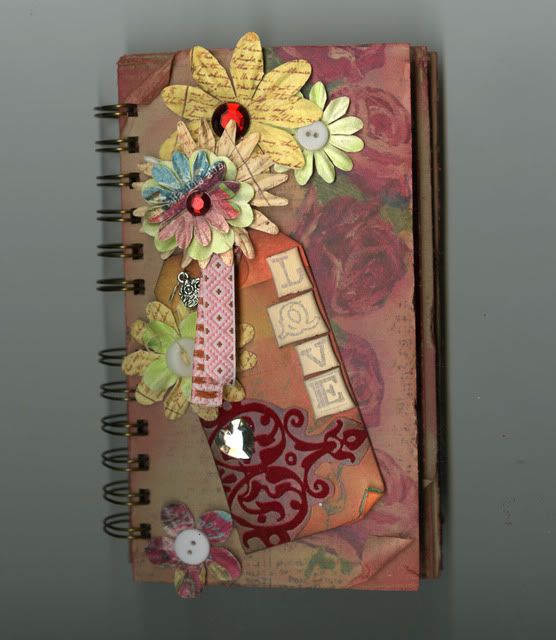
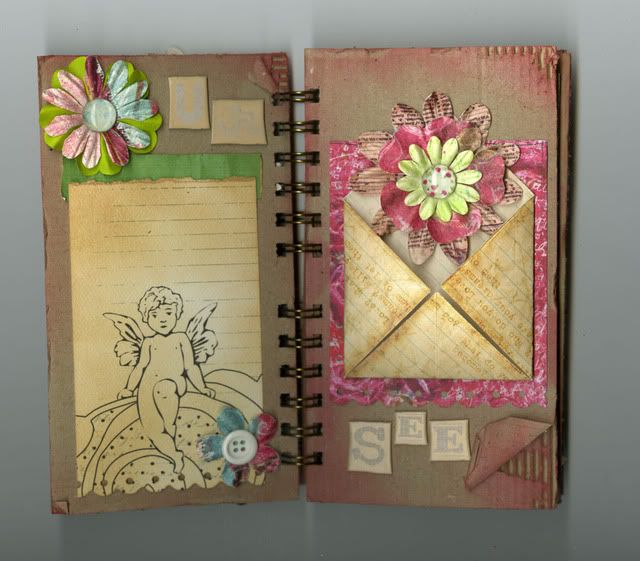
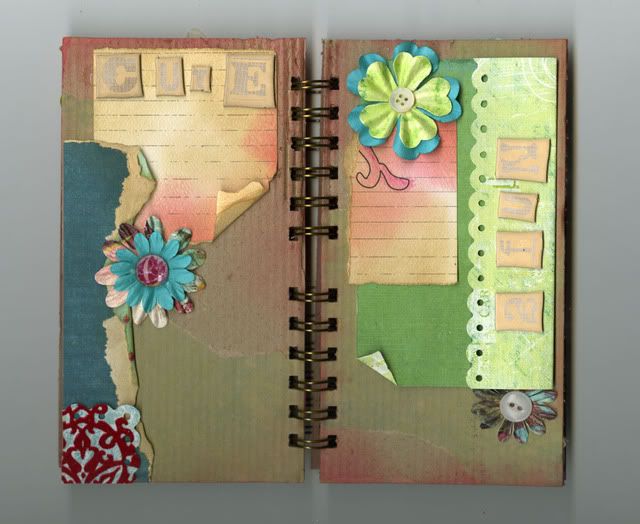
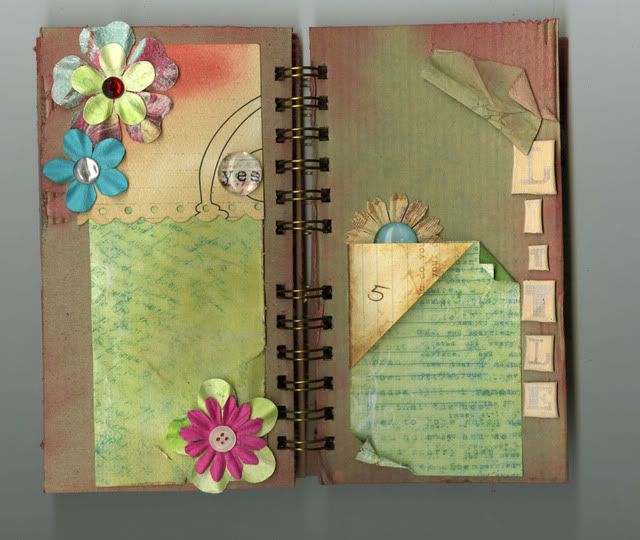
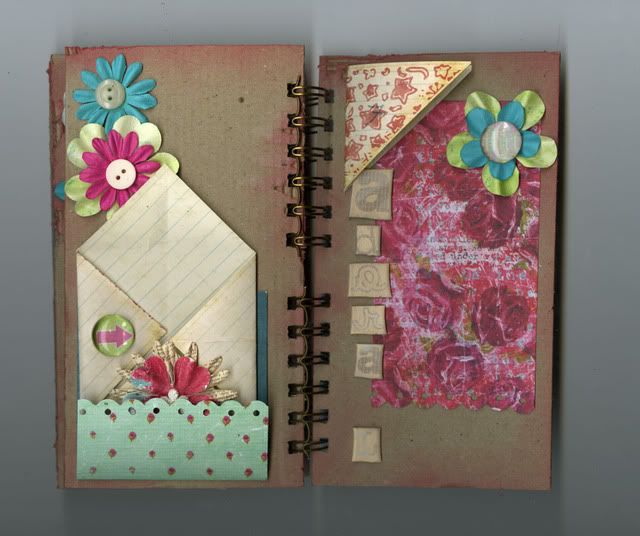
Felicia's Handmade Album!






1 comment:
Stunning mini-books, love all the details, very cool!
Post a Comment