Alter a CD container
You can also take any other containers you have at home and re-use it. We shall attempt to make it look pretty as a storage container!
Materials you can use:
CD Container
Acrylic Paint
Ribbons
Patterned Papers
Buttons
Liquid Adhesive (I used Glossy Accent for this tutorial.)
Mod Podge
Instructions:
1) Cut out the pieces you'd like to use from your patterned papers, I used lace cardstock so some parts can be left transparent to reveal what is stored in the container.
2) Paint stripes of different colours on your container.
Here's how the container looks after painting
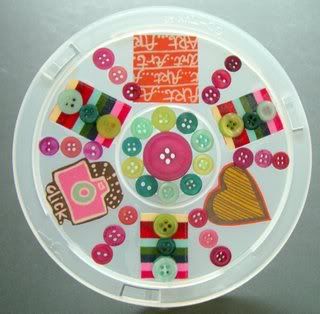
3) While waiting for the paint to dry, you can go on to embellish your container cover. Here's what I did to mine. I used buttons, ribbon and some patterned paper to embellish the cover.
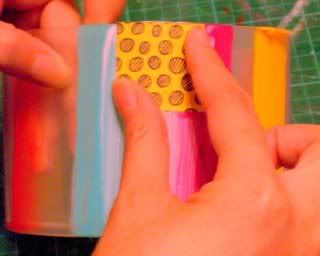
4) When the paint on the container is dry, we can adhere the patterned papers on the container with mod podge.
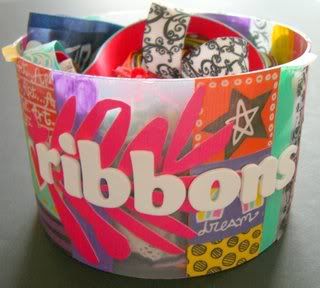
5) Here's how the container looks when completed. I used mine to store ribbons. Added thickers to label the container. The parts with the lace cardstock reveals the ribbons within the container.
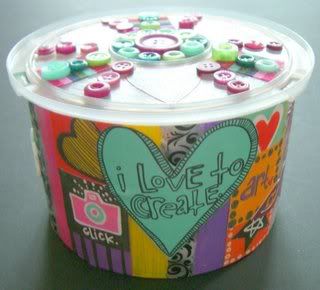
6) There you have it! Your very own storage container altered using a CD container! Some more photos of the container.
Hope to see your take on this tutorial! :)
These are our takes on the wonderful tutorial
Cabbie's take
Liza's Take
We would love to see your take on this tutorial.
Do share it with us, email us at artzdescrap@yahoo.com.sg
Happy Altering!!!


3 comments:
oh ladies i could not find any cd storage but saw something for my clips...
love your takes on the storage! very useful and cute too!!!
thanks felicia for the awesome tutorial...!!!
Felicia - well done on a great tutorial... Very inspirational... Will def try it when I have the time...
Thanks Felicia for the wonderful tutorial! I had fun altering mine!!!
Post a Comment