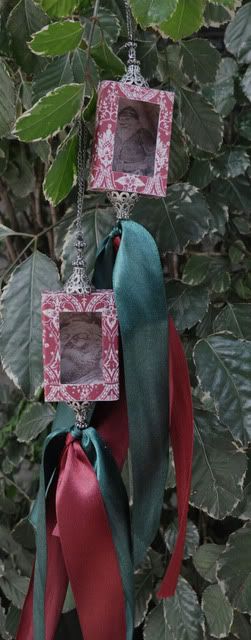
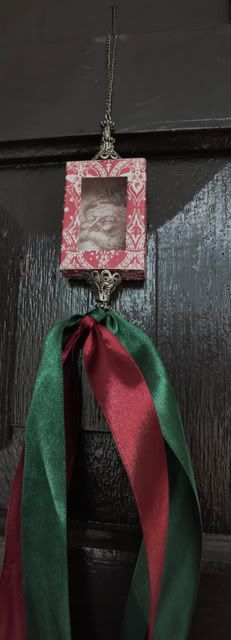
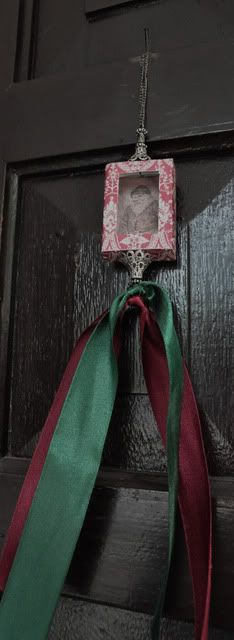
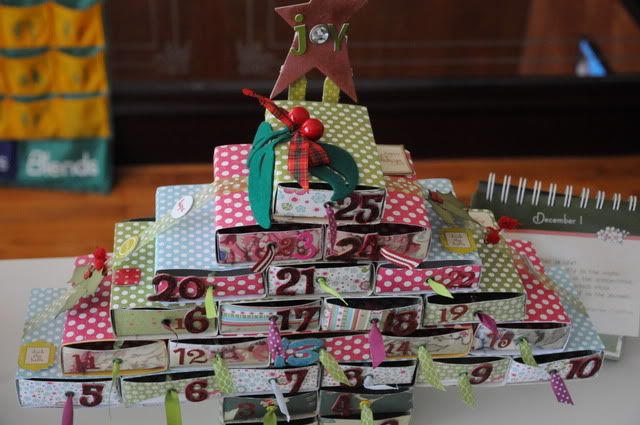
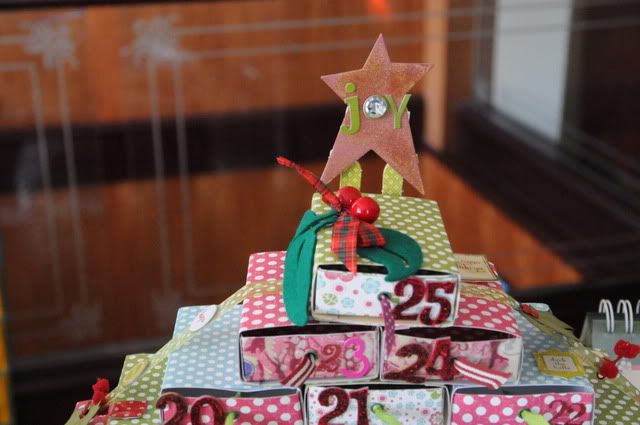
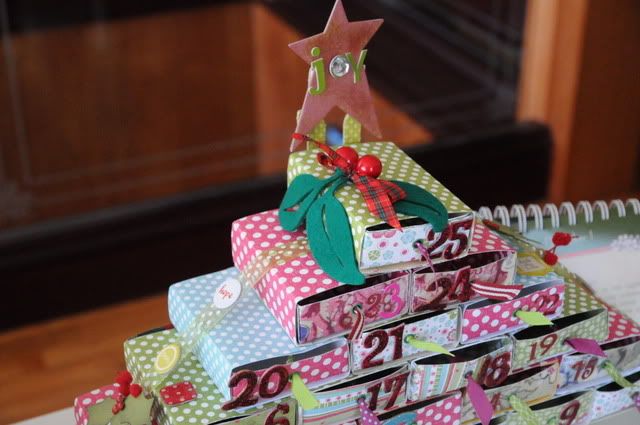
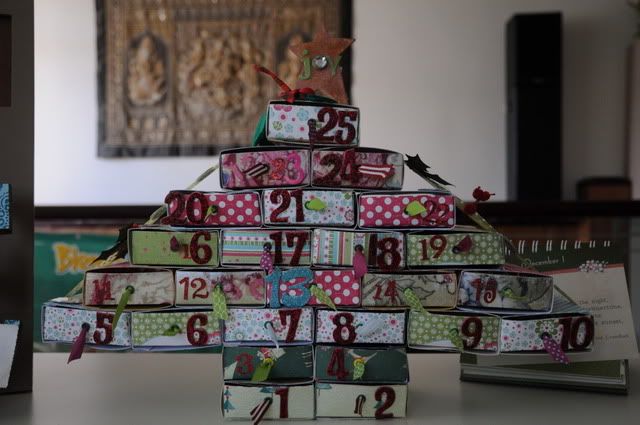
Here are the entries we received...
Friday, December 25, 2009
Tuesday, December 15, 2009
December 09 Inspirational Scrapper
Artz de Scrap's Chosen Inspirational Scrapper for December 09 is is our very own DT
Kim Faucher
 Hi. My name is Kim Faucher... known on several message boards and galleries as kimosabescraps. I have been scrapbooking, card making, altering projects for as long as I can remember but serving on design teams and submitting to publications for about 7 years. I love this hobby, am passionate about all arts and crafts . My style is ever changing and eclectic. I like to range from simple and scrapliftable to a more complex and artistic ... and usually everywhere in between!! I will alter anything and everything in front of me, including old packaging, bottles, frames etc... and have a great number of handmade items in my house as decorations!
 Hi. My name is Kim Faucher... known on several message boards and galleries as kimosabescraps. I have been scrapbooking, card making, altering projects for as long as I can remember but serving on design teams and submitting to publications for about 7 years. I love this hobby, am passionate about all arts and crafts . My style is ever changing and eclectic. I like to range from simple and scrapliftable to a more complex and artistic ... and usually everywhere in between!! I will alter anything and everything in front of me, including old packaging, bottles, frames etc... and have a great number of handmade items in my house as decorations!
Stuffed Trees Tutorial
Today we are going to make stuffed decorative trees for the holidays.
I made four trees but I’ll be giving you instructions for the two ways of making trees as seen here, then you can make as many as you desire!
Materials / Supplies needed:
Fabric and felt (Remnants and squares found in the clearance section are great!!)
Thread and embroidery floss or bakers twine
Thread spools or miniature clay pots for bases
Wood dowels or planters stakes
Polyfill for stuffing trees
Chenille or glittered pipe cleaners/stems
Embellishments of your choice, including, buttons, ribbons, extra fabric scraps, gems, etc!
Glitter
Adhesive
Hot glue gun (optional)
Sewing machine (optional)
Step-by-step instructions:
1. Paint clay pots , wooden thread spools or any other flat surface to help tree stand up. Paint plant stake or wood dowel halfway (other half will be inserted into stuffed tree.

2. To make Felt tree:
A. Take a piece of felt 8 1/2 x 11 and fold in half width wise. Roughly draw a triangle onto the felt and cut it out (this will give you two equal pieces /triangles for the tree bases).

B. I used a sewing machine but hand stitching works as well to sew two edges from the point down. For the base, leave approximately 1 cm open to insert the wood dowel/stake. Make sure to leave at least 1 1/2 cm edge all around stitching.

C. Once edges are sewn, add fiberfill to hole in pocket pillow. Smooth it around with your hand till it’s evenly distributed.

D. Secure edge / opening to fit around the dowel and insert dowel inside. Glue around the excess opening to fit dowel if needed using liquid glue / hot gun or stitch shut.

E. Use pinking shears or scissors to trim around the edges close to the stitching, leaving a very fine edge around the triangle. Decorate with embellishments of your choice and insert stick into thread spool or clay pot as seen here. Use hot glue or other method to make it stable. Your Felt tree is done! =)

3. If you choose to handstitch, that is fine too. Here is an example of another felt tree I made with a different stitch along the edge.

Here is another finished felt tree.

4. The next two trees I created uses fabric and are three dimensional, I used three layers instead of just two.
A. Cut three triangles of equal size out of fabric. Don't worry if the edges are rough or frayed as we will "decorate" them later. Cut another triangle of similar size or smaller and set it aside. We will use this for the bottom later on.

B. Begin to hand‐stitch the first two triangles together, leaving approximately 1 1/2 cm edge outside your stitch (wrong sides of fabric facing in).


C. When opened and finished it should look like this:

D. Sew third triangle to unstitched edge of center (second) triangle

to make this.

E. Then sew the unsewn edges together to form a tent as shown in picture here: Remember to sew 1 cm in.

F. Next stuff triangle tent with fiberfill till full and evenly distributed.

G. Take the fourth fabric triangle to cover bottom opening and attach it to the edges to the bottom of the tent as shown in picture here. Sew around the edges to shut and complete the stuffed tree.

H. After stitched and stuffed, groom your edges using sharp scissors or pinking shears as shown.

I. You may need to re‐shape the pillow, fluff up etc if necessary. Do this before decorating and inserting into base.


J. I then used scissors to clip the edges and roughed it up with my hands to give it a folksy frayed look.

K. Decorate your tree as desired. I used a hot glue gun on this tree to add metal snowflakes and little ribbons to the front of one side of the triangular tree. I twisted some small pieces of pipe cleaner to the top in order to adhere the opening on top shut. I added a paper punched star with glitter and gems to the top center of the tree.

The clay pot bases are turned upside down and painted blue. I also added a layer of diamond glaze and glass glitter to the pot.
Here is another version of a fabric tree:
I added buttons, gems, a flower and ribbon on the top. The tree is made the same way as the one pictured above.

Here are some photos of the trees.

Here’s a shot to show the dimension.

Some close ups:


There really is no wrong way to do this project. You can also do hearts or stars or any other shapes, use any colors or embellishments that you desire. The possibilities are endless and they are fun, and relatively easy to create!
I can't wait to see your takes on the stuffed trees!! Thanks for allowing me to share this tutorial. Happy Holidays!
Kim
Here are our takes for this tutorial.
Do share your take with us, email us at artzdescrap@yahoo.com.sg
I made four trees but I’ll be giving you instructions for the two ways of making trees as seen here, then you can make as many as you desire!
Materials / Supplies needed:
Fabric and felt (Remnants and squares found in the clearance section are great!!)
Thread and embroidery floss or bakers twine
Thread spools or miniature clay pots for bases
Wood dowels or planters stakes
Polyfill for stuffing trees
Chenille or glittered pipe cleaners/stems
Embellishments of your choice, including, buttons, ribbons, extra fabric scraps, gems, etc!
Glitter
Adhesive
Hot glue gun (optional)
Sewing machine (optional)
Step-by-step instructions:
1. Paint clay pots , wooden thread spools or any other flat surface to help tree stand up. Paint plant stake or wood dowel halfway (other half will be inserted into stuffed tree.

2. To make Felt tree:
A. Take a piece of felt 8 1/2 x 11 and fold in half width wise. Roughly draw a triangle onto the felt and cut it out (this will give you two equal pieces /triangles for the tree bases).

B. I used a sewing machine but hand stitching works as well to sew two edges from the point down. For the base, leave approximately 1 cm open to insert the wood dowel/stake. Make sure to leave at least 1 1/2 cm edge all around stitching.

C. Once edges are sewn, add fiberfill to hole in pocket pillow. Smooth it around with your hand till it’s evenly distributed.

D. Secure edge / opening to fit around the dowel and insert dowel inside. Glue around the excess opening to fit dowel if needed using liquid glue / hot gun or stitch shut.

E. Use pinking shears or scissors to trim around the edges close to the stitching, leaving a very fine edge around the triangle. Decorate with embellishments of your choice and insert stick into thread spool or clay pot as seen here. Use hot glue or other method to make it stable. Your Felt tree is done! =)

3. If you choose to handstitch, that is fine too. Here is an example of another felt tree I made with a different stitch along the edge.

Here is another finished felt tree.

4. The next two trees I created uses fabric and are three dimensional, I used three layers instead of just two.
A. Cut three triangles of equal size out of fabric. Don't worry if the edges are rough or frayed as we will "decorate" them later. Cut another triangle of similar size or smaller and set it aside. We will use this for the bottom later on.

B. Begin to hand‐stitch the first two triangles together, leaving approximately 1 1/2 cm edge outside your stitch (wrong sides of fabric facing in).


C. When opened and finished it should look like this:

D. Sew third triangle to unstitched edge of center (second) triangle

to make this.

E. Then sew the unsewn edges together to form a tent as shown in picture here: Remember to sew 1 cm in.

F. Next stuff triangle tent with fiberfill till full and evenly distributed.

G. Take the fourth fabric triangle to cover bottom opening and attach it to the edges to the bottom of the tent as shown in picture here. Sew around the edges to shut and complete the stuffed tree.

H. After stitched and stuffed, groom your edges using sharp scissors or pinking shears as shown.

I. You may need to re‐shape the pillow, fluff up etc if necessary. Do this before decorating and inserting into base.


J. I then used scissors to clip the edges and roughed it up with my hands to give it a folksy frayed look.

K. Decorate your tree as desired. I used a hot glue gun on this tree to add metal snowflakes and little ribbons to the front of one side of the triangular tree. I twisted some small pieces of pipe cleaner to the top in order to adhere the opening on top shut. I added a paper punched star with glitter and gems to the top center of the tree.

The clay pot bases are turned upside down and painted blue. I also added a layer of diamond glaze and glass glitter to the pot.
Here is another version of a fabric tree:
I added buttons, gems, a flower and ribbon on the top. The tree is made the same way as the one pictured above.

Here are some photos of the trees.

Here’s a shot to show the dimension.

Some close ups:


There really is no wrong way to do this project. You can also do hearts or stars or any other shapes, use any colors or embellishments that you desire. The possibilities are endless and they are fun, and relatively easy to create!
I can't wait to see your takes on the stuffed trees!! Thanks for allowing me to share this tutorial. Happy Holidays!
Kim
Here are our takes for this tutorial.
Do share your take with us, email us at artzdescrap@yahoo.com.sg
Wednesday, December 2, 2009
Calling for Designers
First of all, we would like to thank Candy, Catherine, Emily and Kim for being a part of Artz de Scrap and inspiring us all with their works! =)
We are looking for talented Scrappers to be part of our inspirational group for a period of 6 months starting Jan 10 to June 10.
You will be receiving the following
- Recognition and Exposure
- A RAK as a token of appreciation from Artz de Scrap
- Discounts at Artz de Scrap's associates's esteemed online stores.
In turn, you are required to
- Submit all your monthly submissions due on time and submit all the mid-month tutorials.
- Host 1 tutorial in a pre-determined month within your term.
- You will also have to post all sneaks and your takes on the challenges on your respective blogs and to promote Artz de Scrap.
Interested?
If so, THIS is what you need to do:
Just email us with the subject "Artz de Scrap DT Call", your best three samples of your altered work (No LOs), your name, your address and your blog URL to artzdescrap@yahoo.com.sg by the 23rd of December 09.
**Note: These 3 altered works submitted MUST not be from any of Artz's previous challenges!**
In addition, do try out the December Altered Matchbox Challenge and submit it with your DT call submission.
The 3-4 chosen designers will be contacted BY December 26th and will be revealed on the blog on Jan 1st 2010!!!
The 3-4 chosen designers will be contacted BY December 26th and will be revealed on the blog on Jan 1st 2010!!!
Tuesday, December 1, 2009
Altered Matchbox Challenge
Are you ready for
Artz de Scrap's December Challenge?
Artz de Scrap's December Challenge?
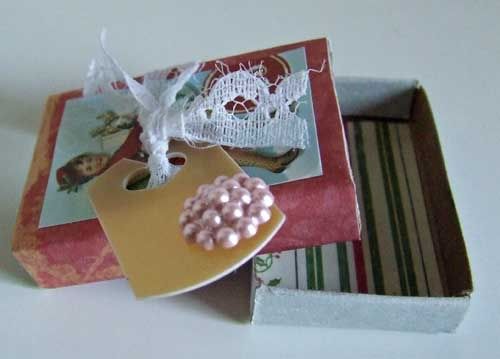
Challenge: Alter a Matchbox
Theme: Christmas
We can't wait to see your takes on this challenge!
Do link your submissions (on your blog) in the comments section
and email us a copy to artzdescrap@yahoo.com.sg for a chance to win
a wonderful RAK from our sponsor.
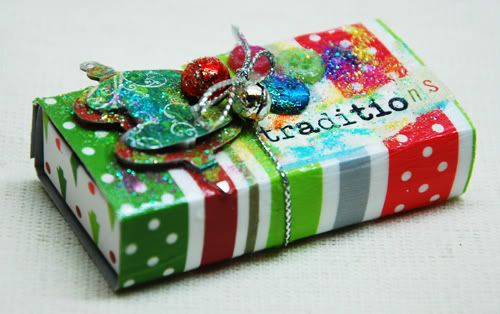
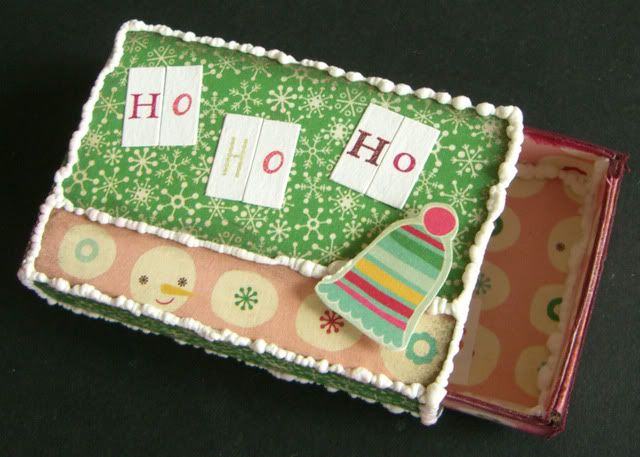
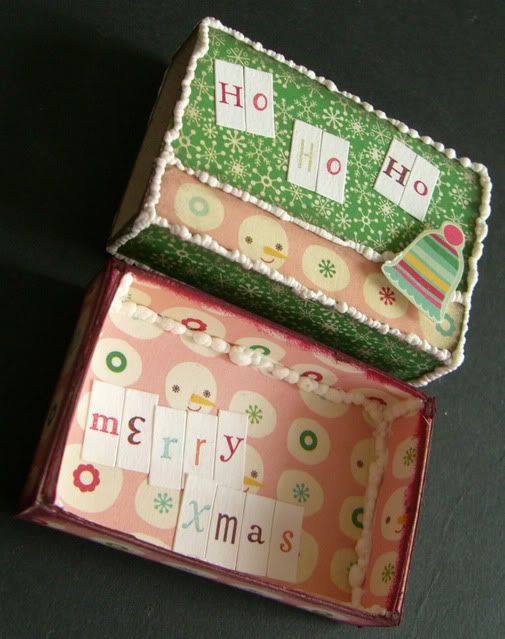
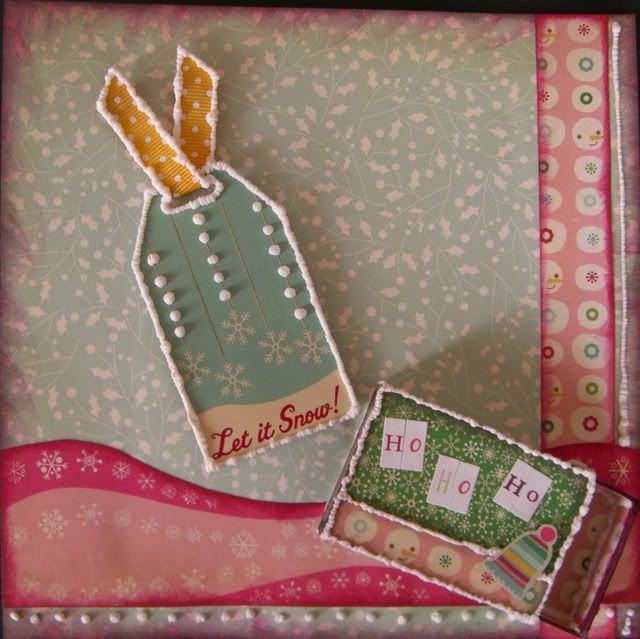
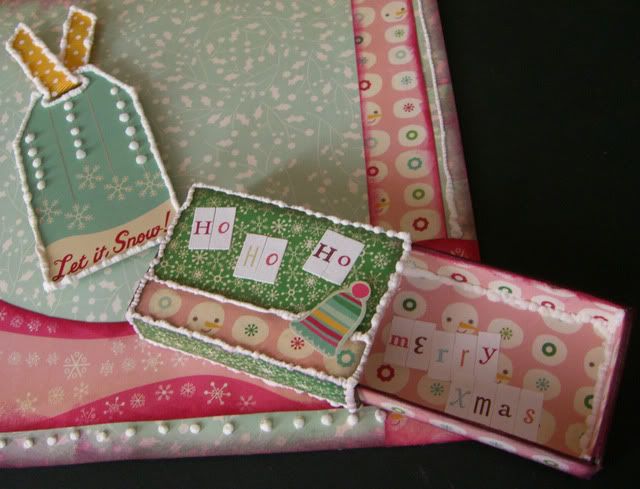
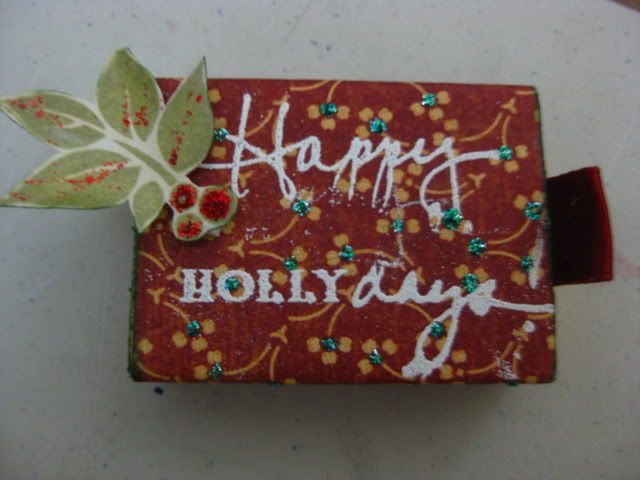
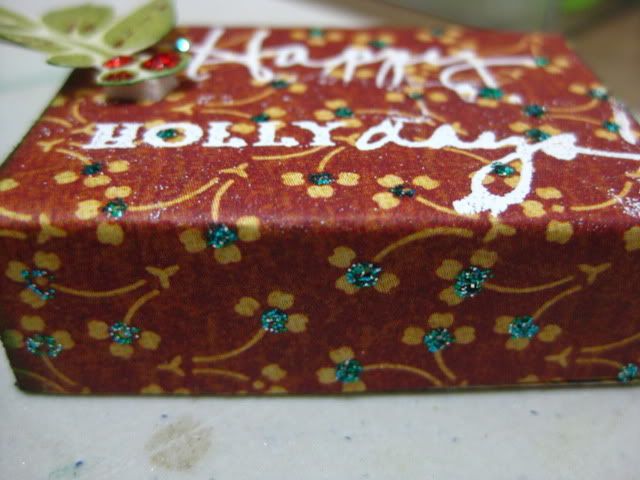
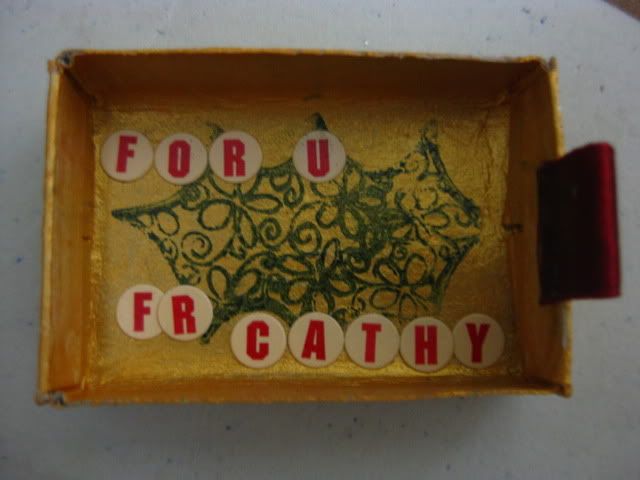
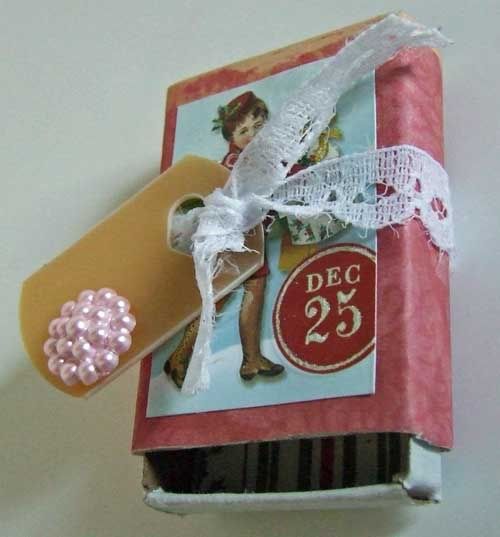
Here are our DT's takes for this Challenge!
Designer Cabbie's Altered Handmade Matchbox!

and email us a copy to artzdescrap@yahoo.com.sg for a chance to win
a wonderful RAK from our sponsor.
Here are our DT's takes for this Challenge!
Designer Cabbie's Altered Handmade Matchbox!

Subscribe to:
Posts (Atom)


