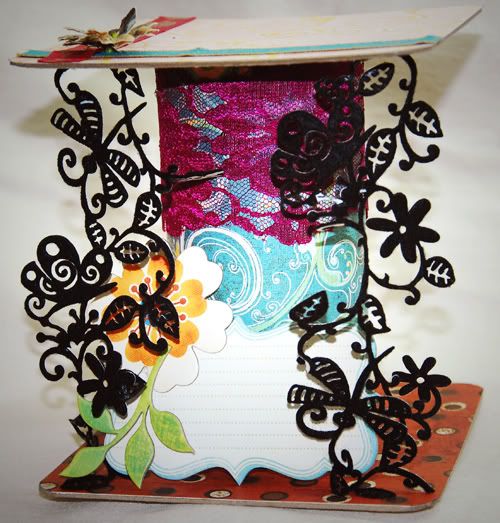
Materials / Supplies needed:
Card stock or Pattern paper 5pcs
Ring 2pcs
Sticker or Rub-ons of numbers, months
Edge punch
Ink
Step-by-step instructions:
1. Cut open a mailbox, take the part that contains half of the top and half of the bottom together with the spine. There are 4 of this part for each mailbox, in this project we need 2. One for the standing part of the calendar which comes with months, the other one for the base where to put the date dices.

2. The measurement of the box is usually 13 x 13 inches, for easy measurement of paper, we need to measure 6 x 12 inches and cut the extra.


3. Use Sizzix die to make 2 dices. If you don’t have Sizzix, please follow the attached template. Then you can use sticky tape or just double-sided tape to assemble the dice, put on number stickers. For 31 days in a month, you need 1-6 for one dice and 1,2,0,7,8,9 for the other one.


4. Cut one 12 x 12 paper in half and cover the top part of the first box piece (the standing part). On this part, we will put ring later together with 12 months’ note sheet. You need to decide how big is your monthly note sheet then punch the hole. I used notebook from Creative Imagination which measures about 6 x 4. And on each of the note sheet, use rub on or sticker to label the 12 months. Punch two holes on each sheet, mark the whole on the standing board, also punch the whole.


5. Take out a cardstock or pattern paper, score lines at 2 inch, 2.5 inch, 8.5, 9 inch. You can use edge punch to punch an edge near 2 inch score line. This paper will cover the back of the standing part as well as to join the base part. So you need to use one of the monthly note sheet to mark the location to punch out the holes.


6. Now we need to join the standing part and the base. For the base, we only need the spine and half of the bottom part of the mail box, use the other half of the paper left from step 4 to cover the 6 x 12 inch part. Put glue on the spine part and stick the two spine parts together.


7. Take out the cardstock with the punched edge, we will use this to secure the standing part and the base, stick it part by part: first the top of the front, then the back, then lastly the bottom.


8. Use ink of your choice to ink all the edges.

9. Use two rings to secure on the monthly note sheet to the standing part, add on the dice. You now have a desk top calendar set.


Do send us an email to get the template for the dice.=)
Here are our takes for this tutorial


