Monday, May 16, 2011

May 2011 Inspirational Scrapper

Artz de Scrap's Chosen Inspirational Scrapper for May 2011 is


Jade Moore

I am 30, female of course, I live in Belleville Il about 20 minutes away from Saint Louis Missouri. No kids, no hubby, but I am in a long term relationship and I am a deep rooted family girl (a daddy's girl really, I turn into a five year old EVERYTIME I am around my daddy!). My full time profession, well I am in the Air Force, but when I get off work and I come home and step into my scrap room...well that's when I really start trying to save the world!

My design strengths,
1. I finish what I start, I really do not have any projects that just sit.
2. i think out of the box, if you give me a box of items I would start by altering the box the goodies came in.
3. I draw inspiration from EVERYTHING!!! I carry a small notebook and when an idea hits I write it down.
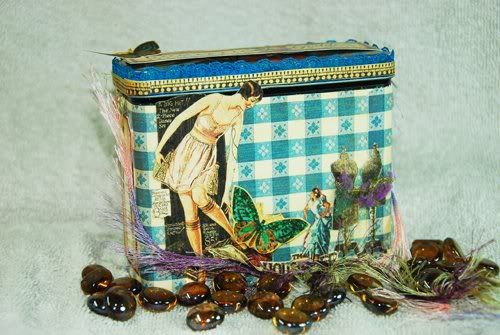
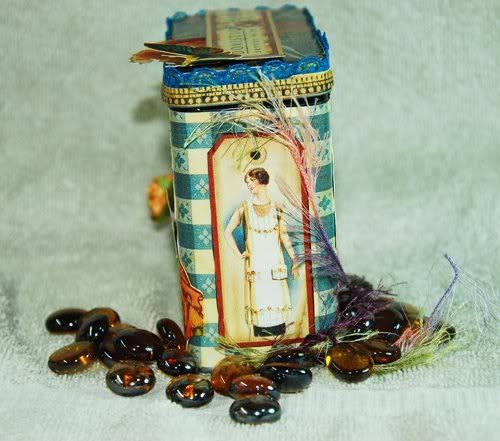
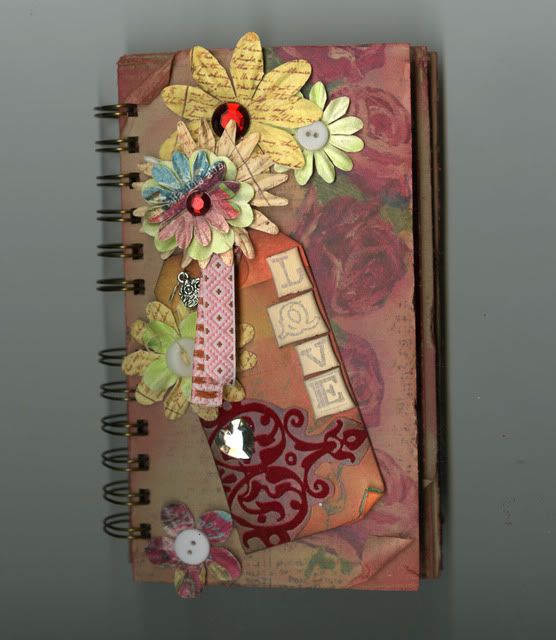
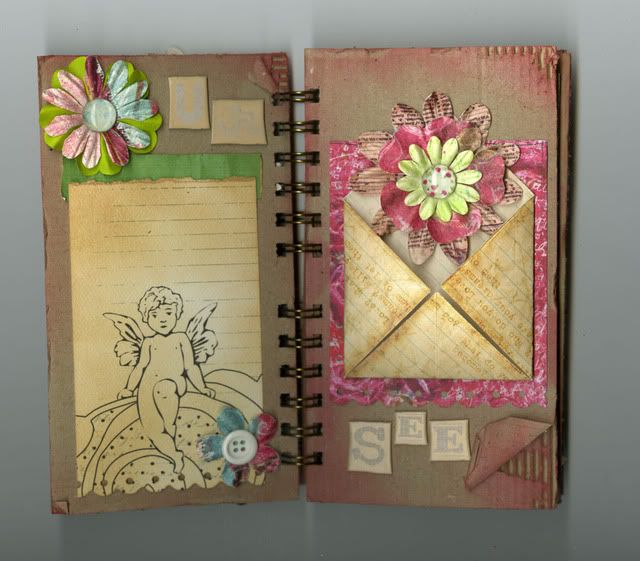
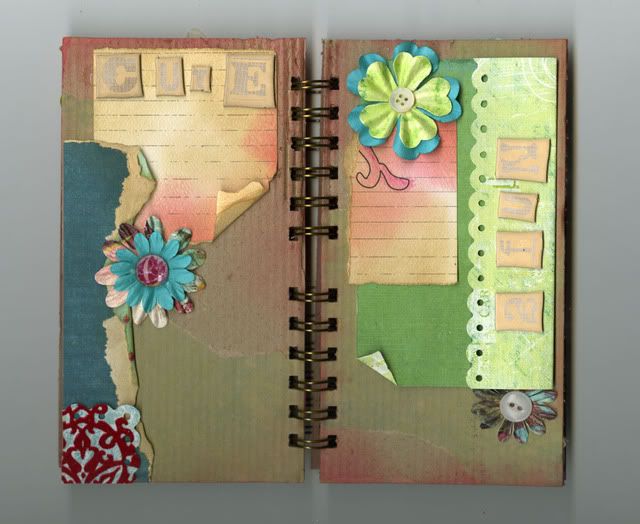
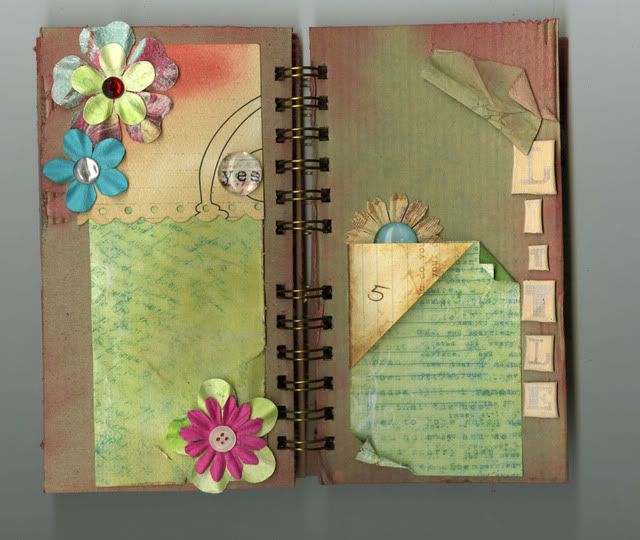
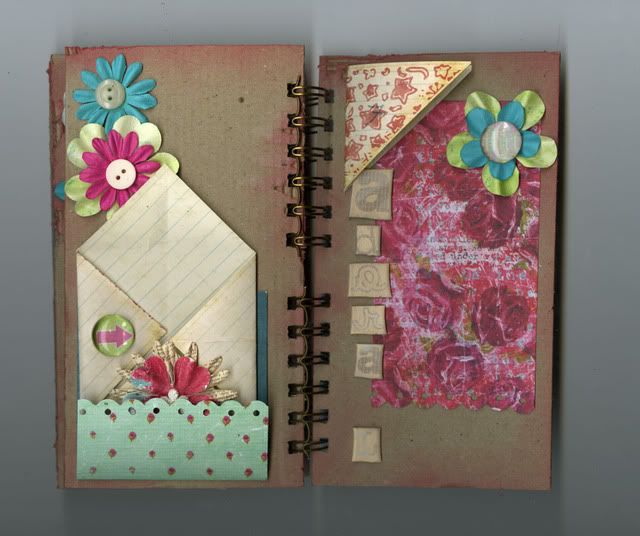
4. I would say I have a shabby chic vintage style (Thank God, thats in right now)
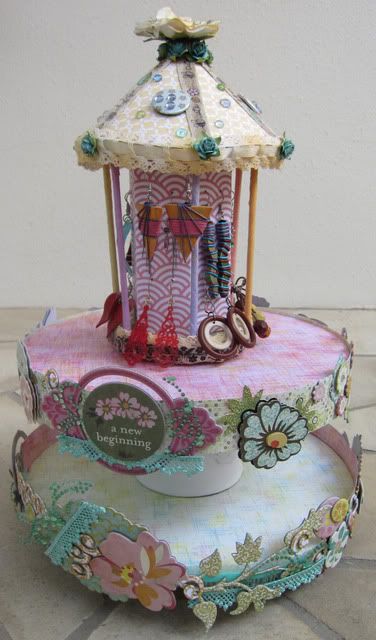
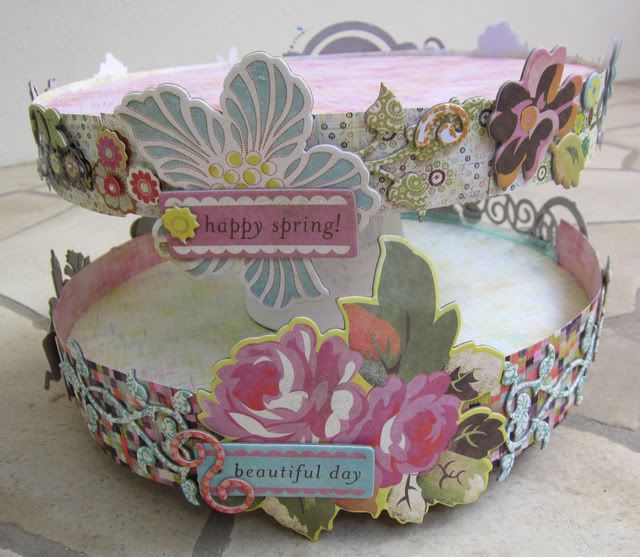
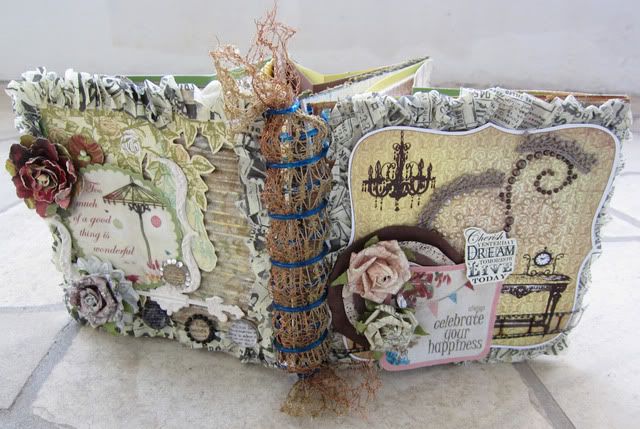
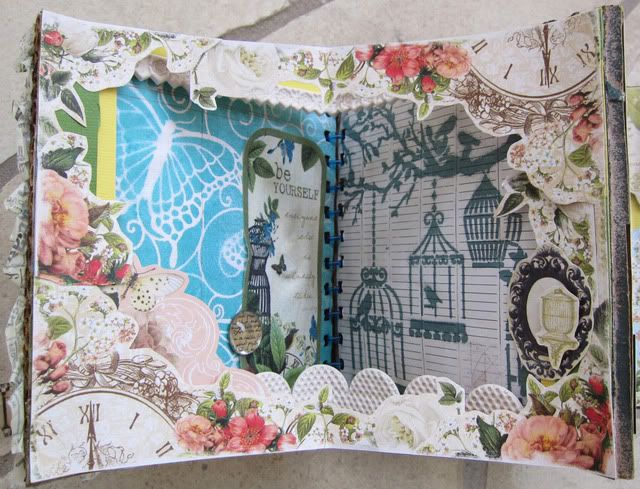
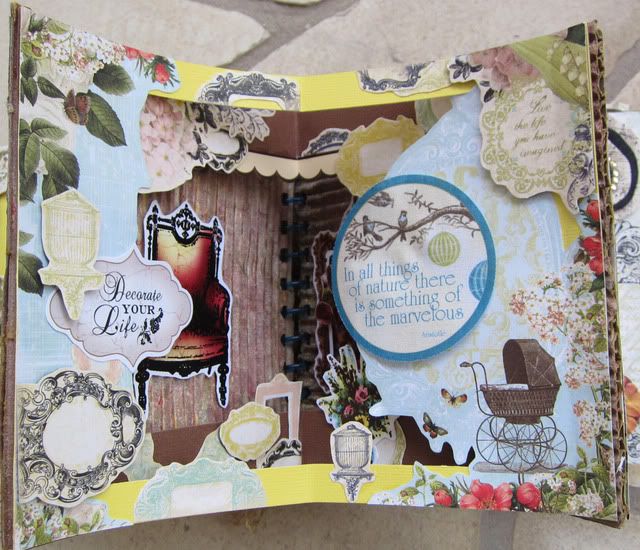
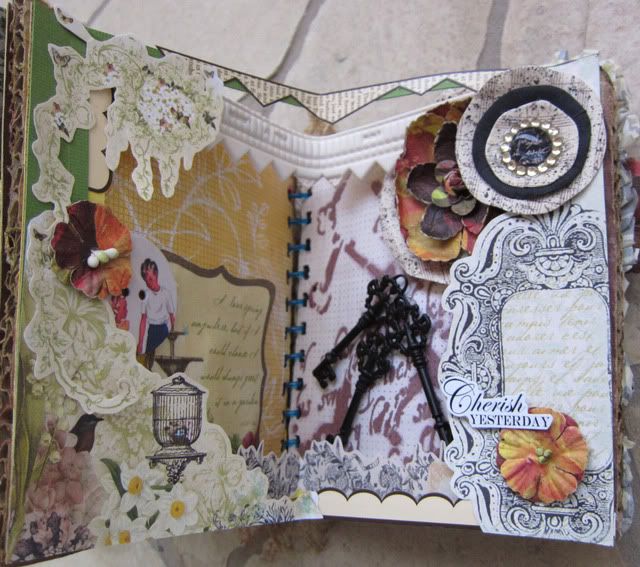
5. I LOVE to inspire folks! My MOST favorite thing to create is MINI ALBUMS!!

You can find my creations, product reviews an tutorials on my blog and youtube channel Blog: jadedstudios.blogspot.comYoutube Channel: http://www.youtube.com/user/JadedStudios

Cupcake Stand Tutorial & Challenge

Materials and Supplies required:
- 3 Round Styrofoam Forms
- Glossy Accents
- Ribbon Spools
- Paint
- Border Punch
- Paper and embelishments of your choice

1) Measure your styrofoam pieces

2) Cut desired Paper according to Measurements (I used Flights Of Fancy By Prima).

3) Adhere paper to styrofoam pieces ( I adhered black paper on the bottom for a cleaner look)

4) Cut contrasting paper into 1 1/2 inch strips

and then punch the edge with a boarder punch of your choice and adhere to the sides of each paper covered round styrofoam piece (this will hide the edge)


5) Stack your ribbon spools to the desired height and glue together


6) Now Paint and adhere spools to the center of each covered round foam circle stacking your round styrofoam pieces in tiers


7) Embelish and fill with yummy cupcakes!!!


The Finished Cupcake Stand!


Here's our take to the tutorial and challenge:
Cabbie's Cupcake Stand!
(to be updated shortly)

Felicia's Cupcake Stand!


Vicki's Cupcake Stand!
(to be updated shortly)

Now that you've seen all of our takes, do share with us your creative ideas on the challenge!!! You have till Tuesday 14th June 2011 Midnight Eastern Time.

International scrappers are most welcome to join in.

Saturday, April 16, 2011

April 2011 Inspirational Scrapper

Artz de Scrap's Chosen Inspirational Scrapper for April 2011 is

Amy Duff


Hi there! I’m Amy and I reside in Virginia with my daughter, step son, and my superb honey do man. I am ever so addicted to altering things with paper and creating cards. At least I can admit it. But my family thinks it's insane. That's okay because I think my addiction is perfectly fine. I don't splurge on myself except with my paper crafts and then it's tough to decide with between paper or dinner for the family? Seriously, my paper is something I covet. Of course my family comes first but sometimes I wish they were as complacent as a piece of pattern paper. Definitely not as many needs or wants there. ;-) I started making cards as a child for family and friends. I always loved the beginning of the school year when I got new school supplies. Back then I would spend hours on a card. Still do today as well. I pour my heart and soul into my projects. Sometimes it’s hard to send the things I make off, but I always hope they will bring a smile to the person receiving. I have been very fortunate to have my work published in Paper Crafts, CARDS, Scrapbook and Cards Today, and several online magazines.


I write about my hobby on my blog which you can find here: www.papertrailsleaver.blogspot.com. Stop by and see what I am up to. Better yet, leave me a comment so I know you came from Artz de Scrap.

Whimsy Pocket Tutorial & Challenge

Recycling at its best! A fun and economical way to make a cute gift card, trinket, or note pocket.

Supplies :

Cardboard paper tube (paper towel or toilet tissue)

Adhesive

Scissors and trimmer or ruler

Pen

Clothespins

Small hole punch


1. Measure tube to 3.5 inches and mark with pen.


2. Flatten tube and cut with scissors on line.


3. Glue one end of tube and secure with clothespins.


4. Trim a 3.5 x 6 inch piece of pattern paper and glue around tube.


5. Decorate as desired. Punch holes on sides with punch and attach ribbon to hang.


Here are our takes on the tutorial...

Cabbie's Whimsy Pocket!


Felicia's Whimsy Pocket!

(To be updated shortly)


Vicki's Whimsy Pocket!


Now that you've seen all of our takes, do share with us your creative ideas on the challenge!!! You have till Saturday 14th May 2011 Midnight Eastern Time.


International scrappers are most welcome to join in.

Wednesday, March 16, 2011

March 2011 Inspirational Scrapper

Artz de Scrap's Chosen Inspirational Scrapper for March 2011 is our very own DT

Vicki Flinchum


I'm a Stay At Home Mom. I live in central Texas with my husband of 8 years and our kids, a son, 7, and daughter, 11. I retired from 17 years of government service to stay home and raise my children. I have been involved in arts and crafts since I was a child. I became involved in scrapbooking and mixed media about five years ago. I love papercrafts, altered arts and mixed media. I teach classes at local scrapbook stores, retreat centers and online on a variety of topics from basic scrapbooking to complex technique heavy altered art and mixed media projects. I also instruct students to use tools like Purple Cows Trimmers and Zutter Bind It All and DreamKuts. My scrappy style is eclectic! I have a special love of distressed items and ephemera.

Vintage Bottle Tutorial & Challenge

Have a special someone who appreciates vintage items? Like an idea for a quick, handmade gift? How about vintage glass containers? Here’s a little project combining old and new for a refreshing gift idea. Tools and Supplies : · A vintage glass container (preferably small) · Ephemera i.e. labels, tickets, sheet music · Small tag · Copper · Metal lettering kit · Vintage fabric or lace · Vintage buttons · Alcohol ink · Distress ink · Small cork 1) Clean out your container and dry thoroughly.

2) Create a label using ephemera and attach to front of container. 3) Distress tag with distress inks to taste.

4) Create a metal tag saying “buttons”, distress with alcohol inks and attach to tag front.

5) Fill vintage container with old or new buttons, cork to close, tie tag to container throat.

6) Give to someone special or keep for yourself!

Here are our takes on the tutorial...


Cabbie's Vintage Bottle!


(To be updated shortly)

Felicia's Vintage Bottle! (To be updated shortly)

Vicki's Vintage Bottle!

Now that you've seen all of our takes, do share with us your creative ideas on the challenge!!! You have till Thursday 14th April 2011 Midnight Eastern Time.

International scrappers are most welcome to join in.

Tuesday, February 15, 2011

February 2011 Inspirational Scrapper

Artz de Scrap's Chosen Inspirational Scrapper for February 2011 is our very own designer


Felicia Ow

I'm a designer from Singapore who loves playing with all sorts of materials I see and find! I do architecture full-time and teach at PaperMarket (LSS) part-time on weekends. My inspiration comes from everywhere: from buildings, fashion, materials, etc. Basically anything with colour, form and texture can be an inspiration to me!
I love to inspire and be inspired. Hope you'll enjoy the tutorial i'll be sharing today and check out my blog for more of my works. http://filiksia.blogspot.com/

Handmade Album Tutorial & Challenge

Tools and Supplies :
Corrugated Cardboards - 4 nos. of 6"x6"
Cardstocks - 3 nos. of 6"x10", 3 nos. of 6"x8"
Mists
Inks
Misting Stencils
Patterned Papers
Other Embellishments: Flowers, Ribbons, Tapes, Blings
Bind-It-All Zutter Machine
Binder Ring

Instructions:
1) Mist and ink one side of the 4 corrugated cardboards. Let the colours mix by misting with water.

2) Once dry, use a misting stencil to create a pattern on the corrugated cardboard.

3) Adhere PP to the other side of the corrugated board.

4) Use the misting template and mist the pattern over the PP.

Do the same for the other 3 pages.

5) Bind the pages together using the Zutter tool.
6) 6"x10" - Create a border of 1" at the top and the 2 sides. Score 0.5" on the 2 sides of the cardstock. Fold the border into half.

6"x8" - Create a border of 1.5" at the top and the 2 sides. Score 0.5" on the 2 sides of the cardstock. Fold the border into half.
a) Adhere the 2 cardstocks together only at the 0.5" on the 2 sides of the cardstock. The 6"x8" should be in front of the 6"x10" cardstock.

7) Adhere the border cardstocks to the album pages as shown in the photo below.


8) The base of the album is now completed! Go ahead and embellish the pages.

Here are our takes on the tutorial...

Cabbie's Handmade Album!

(To be updated shortly)

Felicia's Handmade Album!


Vicki's Handmade Album!


Now that you've seen all of our takes, do share with us your creative ideas on the challenge!!! You have till Monday 14th March 2011 Midnight Eastern Time.

International scrappers are most welcome to join in.