Materials / Supplies needed:
illustration board or any stiff board (approx. 30cm x 60 cm or 1ft x 2ft)
7 pcs. disposable bamboo chopsticks (or barbecue sticks)
empty ribbon spool with hole in the middle (piece of styrofoam with a hole in the middle)
old cd (to be used to stiffen and add weight to the base)
patterned papers
ribbons / laces
cord / crochet thread for sewing, plus a hairpin instead of a needle
glue
hanging earrings (those with hook attachments only)
optional: metal trimmings used for fancy jewellery
Step-by-step instructions:
1. Cut a big circle with a diameter of 20 cm using the stiff board. Cover with PP. Make a 1/8 pie cut. Cut a small circle with a diameter of 11 cm. Cover with PP. Cut another small circle of diameter 11 cm or smaller. The latter is a back-up circle to be used to stiffen the base if needed.

2. Punch holes along the left side of the big circle. Move the punched side towards the right side by at least 1''.

3. Trace the holes made, then punch them as well.

4. Sew the two edges together.

5. Trace finished cone on another stiff board and cut.

6. Cover with patterned paper then punch a hole on the traced circle. Push the chopstick through the hole.

7. Put glue on the sides of the circle on the stick, then stick this to the edge of the cone. This will look like an umbrella cone. Push the stick through the previously cut circle with hole at the other end of the stick.

8. Insert the open end of the stick through the empty ribbon spool. This is the framework of the carousel. Set aside.

9. Measure 6 panels of 4cm width x 13 cm height on a stiff board. Add 1.5cm to the height on top and at the bottom. Add another 1.5 on the width of the panel to serve as overlapping flap for gluing. Cut and score all lines. Cover other side with patterned paper.

10. Cut the edges to make triangles. Also punch 2 or 4 holes on each of the 6 panels. This is where the earrings will hang.

11. Fold the scored lines inward. This will make a hexagonal shape. Glue remaining flap behind one of the panels. For a more finished look, the patterned paper can be longer than the 6 panels and flap. When gluing, this extension goes on top of one of the panels. Punch holes on this extension base on where the previous holes are.
Fold the triangles inside.

12. Tape opposite triangles together. Do this to the bottom as well. This will hold the hexagonal shape together.

13. Punch a hole where the tapes meet on both ends using the pointed end of the scissors. Take out the stick from the cone and circle base, then insert through the taped top and bottom.

14. Insert top end through the cone and bottom end through the bottom circle.

Then stick the remaining end of the stick into the empty ribbon spool. DO NOT GLUE onto the ribbon spool. Make the whole carousel stand on a flat surface. The ribbon spool acts as a stand and as pivoting point. You can now turn the carousel.

NOTE: If the bottom circle on top of the ribbon spool is not stiff enough, you can glue an old cd underneath or another cardboard circle with a hole in the middle to make the bottom thicker and stiffer.
15. Cut 6 pieces of bamboo chopsticks into 13 cm lengths. Wrap with ribbon/s. Glue ends to prevent unravelling. Optional decorative metal can be attached at the ends of the sticks for interest.

Glue top and bottom ends of the sticks to the carousel near the corners of the hexagonal prism.

16. Embellish the carousel, then hang the earrings through the holes. You're done!

NOTE: Ceramic horses with holes for carousels can also be used on the bamboo sticks.

DO NOT GLUE the stick through the empty ribbon spool as this will prevent the carousel from turning.
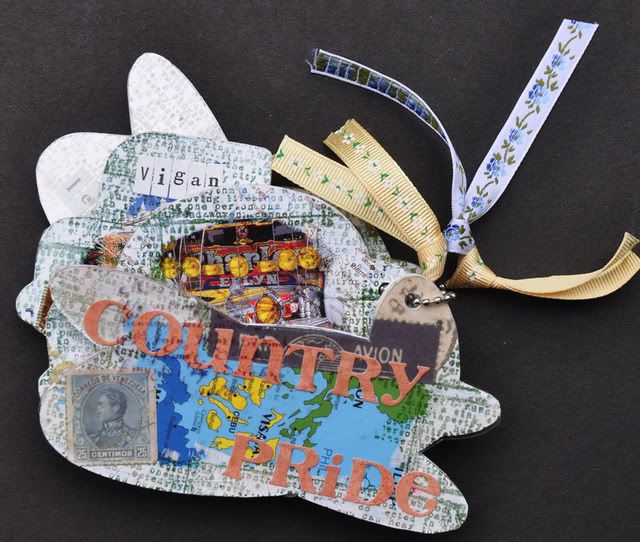
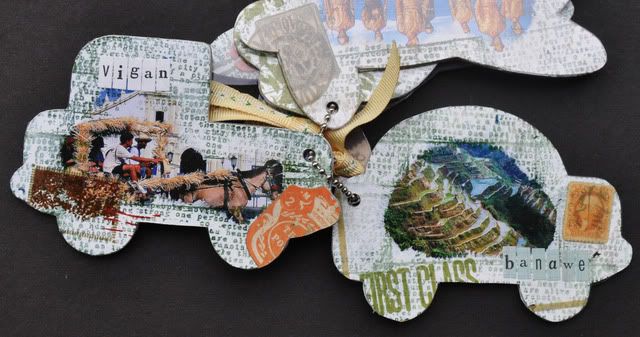
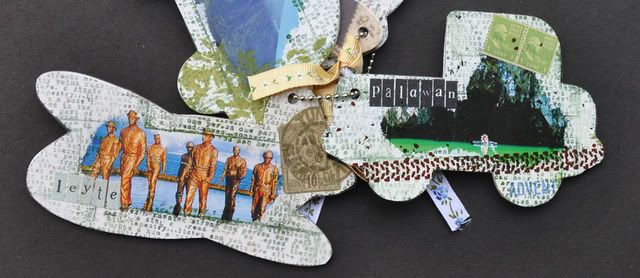
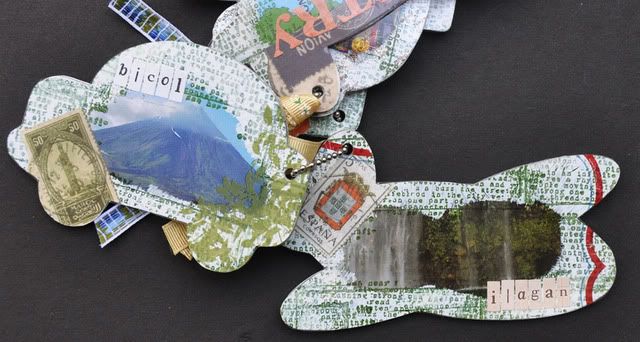
Here are our takes for this tutorial.
Do share your take with us, email us at
artzdescrap@yahoo.com.sgWe'll be posting about a DT call for Jan - June 2010 within the next few days. Do keep a lookout! =)


