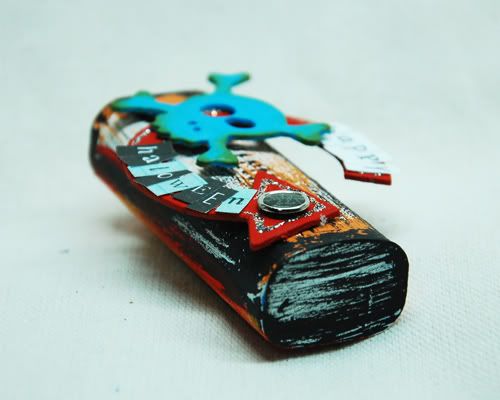
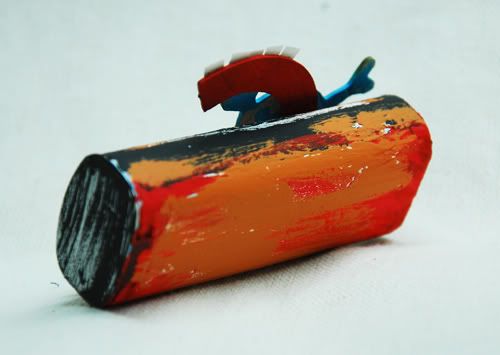
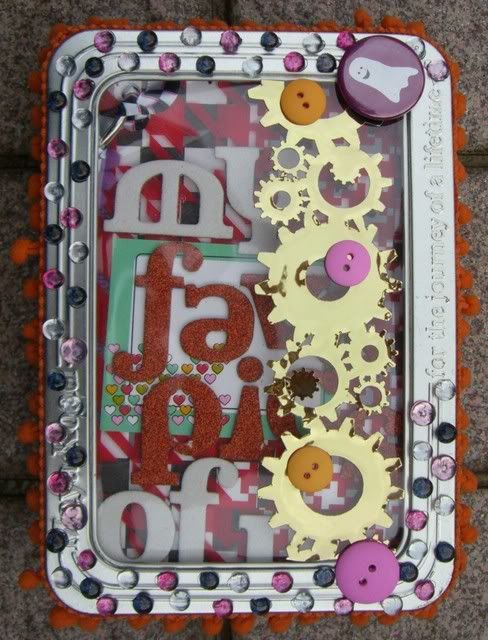
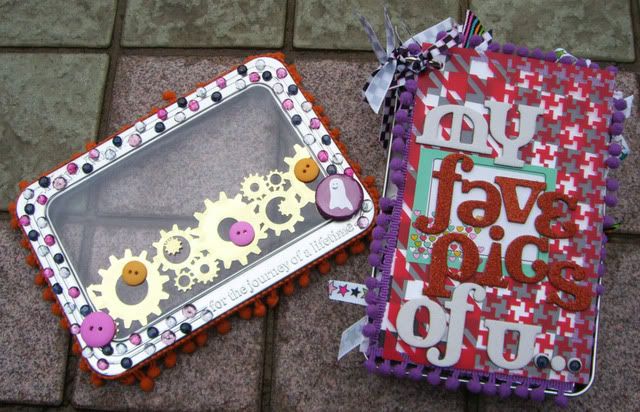
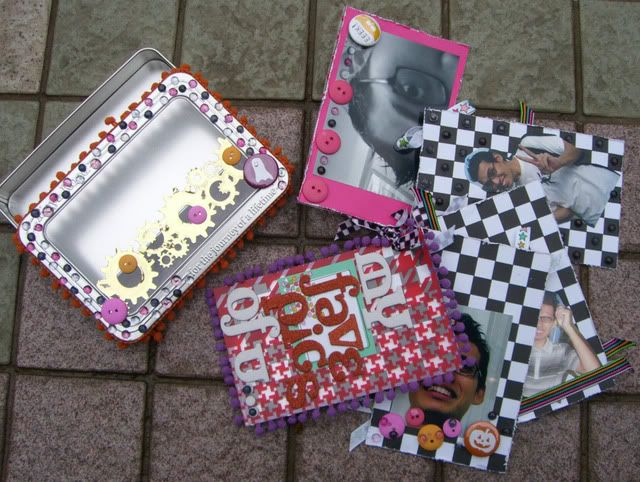
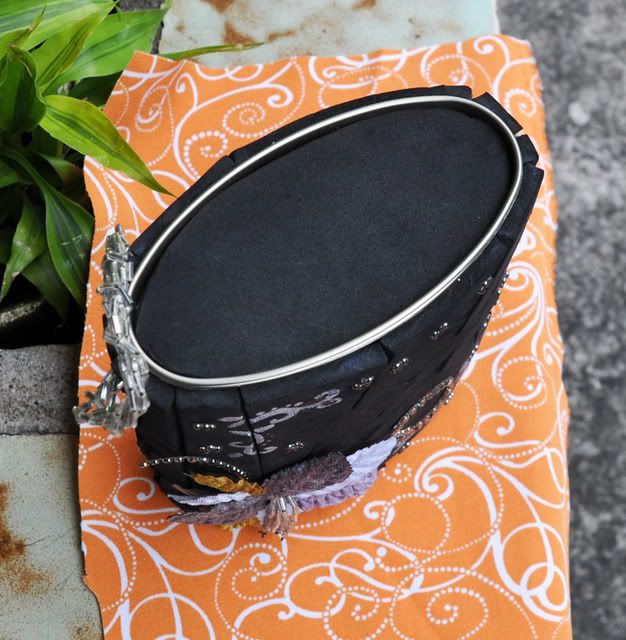
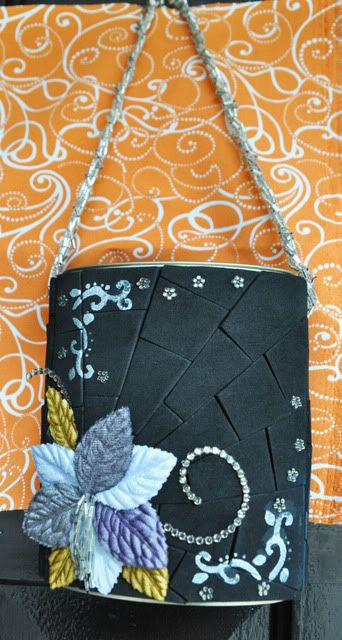
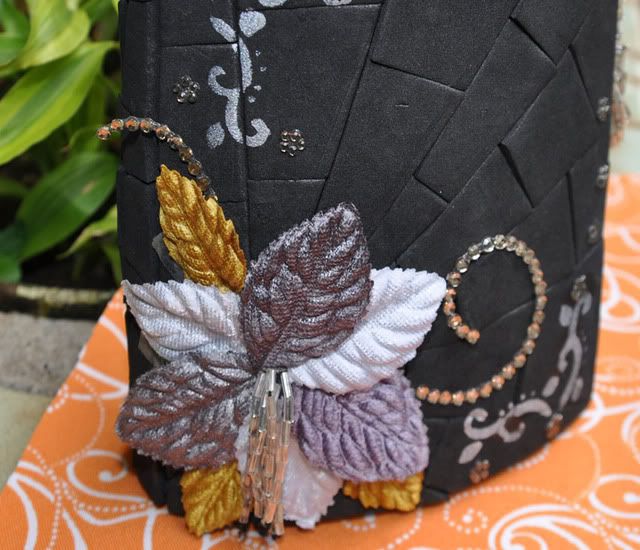
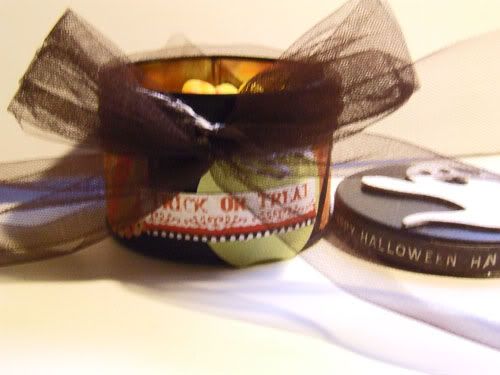
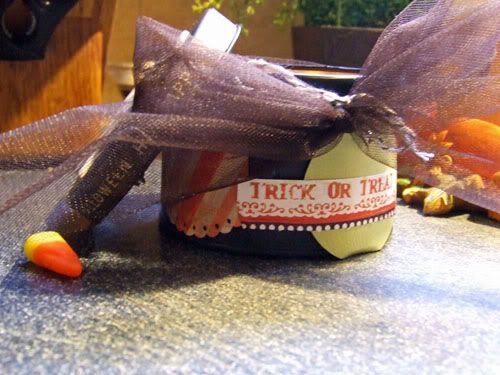
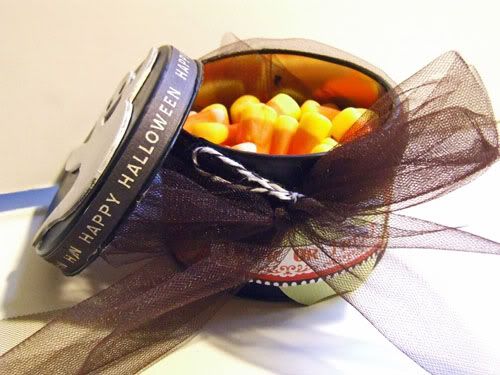
Here are the entries we received...
Friday, October 30, 2009
Thursday, October 29, 2009
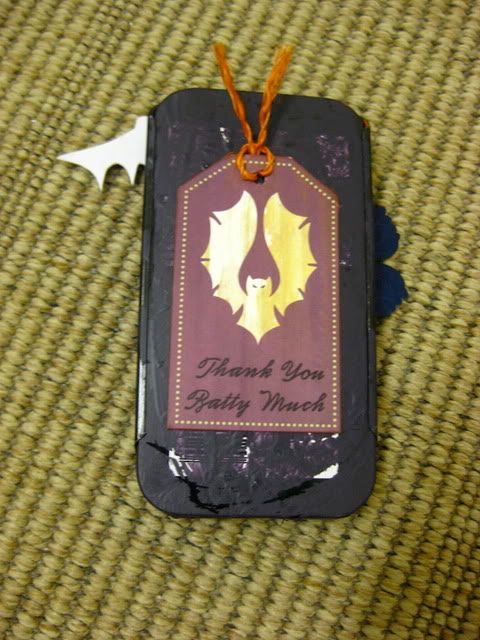
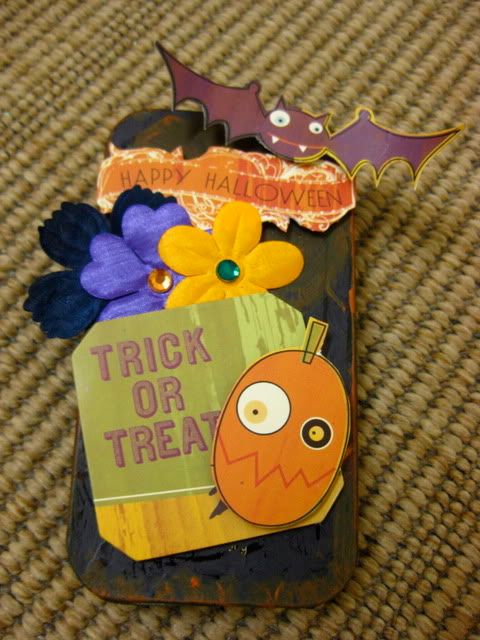
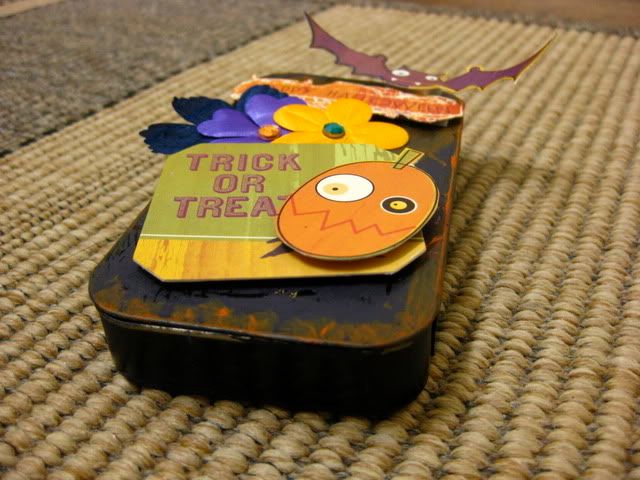
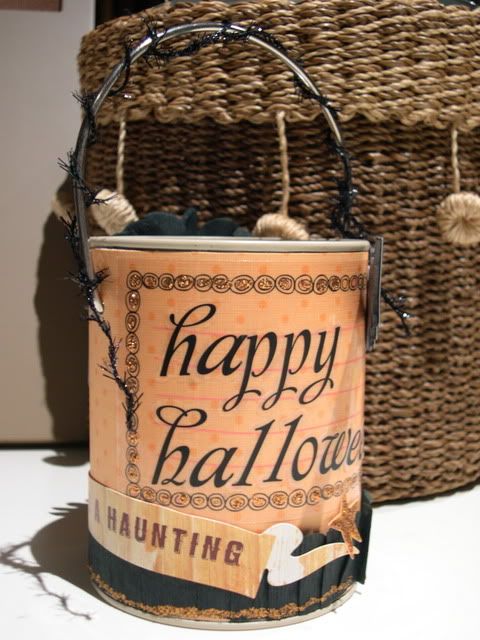
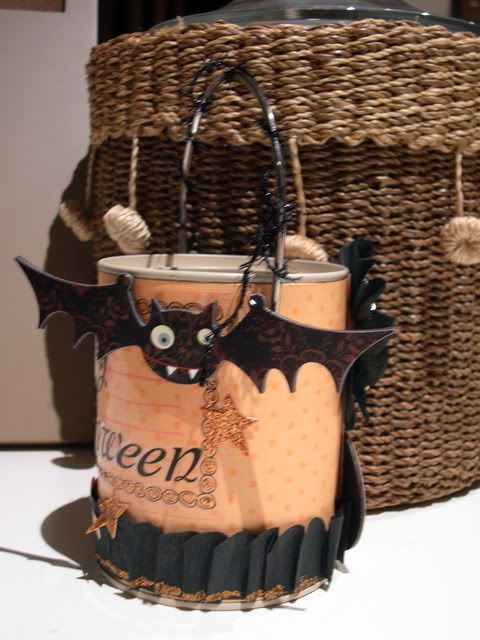
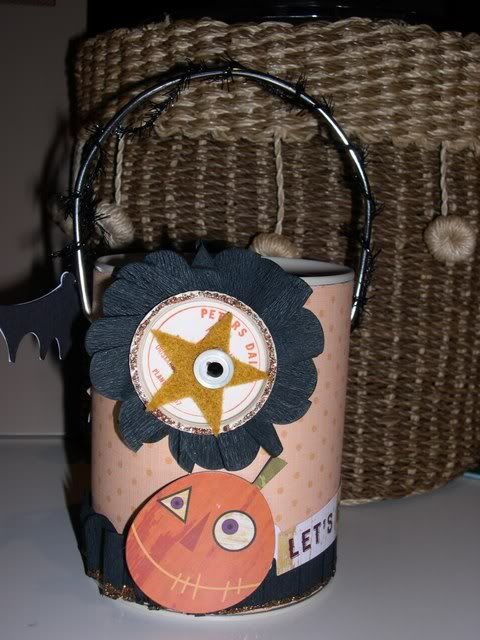
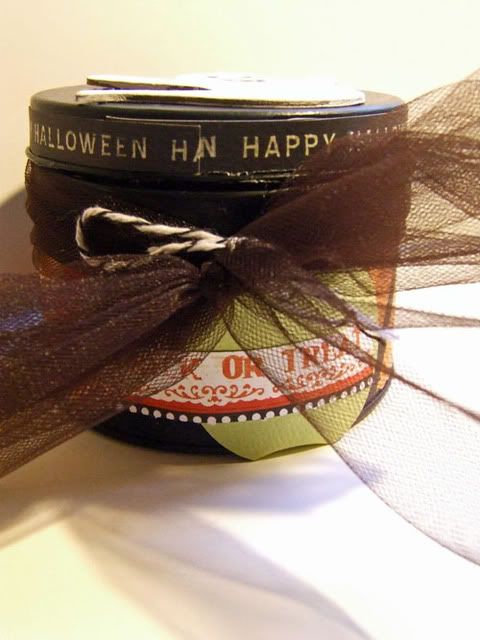
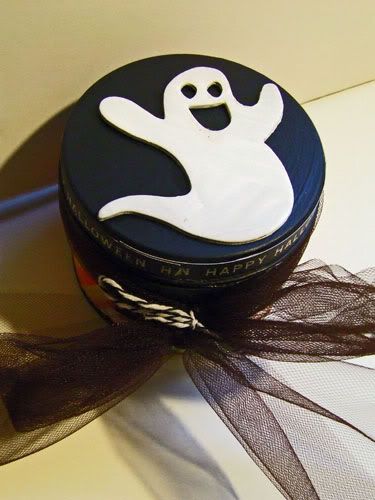
Altered Metal Tin Challenge
Thursday, October 15, 2009
October 09 Inspirational Scrapper
Artz de Scrap's Chosen Inspirational Scrapper for October 09 is is our very own DT
Tic Tac Toe Game Box Tutorial
I’ve made an easy, useful and fun project for both kids and adults. It is a tic tac toe game box that you can put in your game room or your receiving room and your guests can play with it too! My husband and I actually played with it already. Hope you try this one out.
When you were kids, you probably played tic tac toe on a piece of paper by drawing two horizontal and vertical lines that cross each other to make a 9 square grid and writing X’s and O’s alternately. This is the traditional way of playing it. Using the same game mechanics, I just twisted it a bit by creating 3D X’s and O’s that aren’t actually letters but altered arts / objects just as long as you have two sets (5 pcs of each design) of objects. Now these 3D pieces actually go into a box that will be altered to show the square grids.
* Tic Tac Toe will be referred to as TTT for the rest of the contents of this document.
Materials / Supplies needed:
Square Box (any size of your choice depending on the TTT objects you will create)
Mask with 9 square grids (I used a coaster chipboard negative)
Stamp images for your TTT objects
Stamp images for the box design
10 bottle caps (plastic or metal)
Paints + Gesso
Dye Inks (e.g. TH Distress ink) / Solvent Inks (e.g. StazOn)
Grungeboard paper (chipboards may be used)
Stickles
Liquid Pearls
Embossing powder (colored and clear)
Embossing ink
Perfect Pearls
Heat Gun
Masks
Chipboard letters - X, O, X
Scissors
Paint brush
Double sided foam tape

Step-by-step instructions:
1. Altering the Box
a) Decide on what side of the box you want the square grids to be. I used the back of the top cover of the box. Paint the base with two coats of brown paint. Include the sides that are covered with the design. If you want a distressed look like me, I smeared the paint outside the four edges of the box. Let dry. Apply the same color on the inside of the box base.

b) Put non-permanent glue on the back side of the grid mask that will be used as the base board of the game and stick it to the dried and painted brown base (Step 1).

c) Mix 3 parts olive green paint with one part acrylic pearl medium to give the top coating a bit of shine. Paint over the mask (two coats) and let dry. Be careful to not dab too much paint because it can slip through the mask grids.


d) Stamp designs over the dried base board that coordinates to your TTT objects.

2) Creating the Tic Tac Toe Objects
a) Paint bottle caps with gesso. You don’t need two coats because the gesso will just serve as a base for your acrylic paint to sit on. Painting directly on the metal cap may result to chipping off over time. Let dry.

b) Paint the prepared bottle caps with desired acrylic color. Let dry.
*Do note that bottle caps were used as the base for the TTT objects for added dimension. If the thickness of the grunge paper or chipboard is a good enough dimension to you, you may skip these steps 1 & 2.

c) Choose the stamp design you want to use as the TTT objects (you will need two). I used a butterfly (Hero Arts) and a flower image (Basic Grey).

d) Stamp over the grunge paper and cut the shapes out.

e) You can use varying techniques on how to make the cut-out shape pop. Here’s what I did for both sets.
1. Emboss Resist - stamp the image using embossing ink and apply clear embossing powder. Heat emboss and paint with acrylic paint over the entire shape. Wipe with wet towel and apply perfect pearls on the body of the butterfly.
2. Liquid Pearl Glaze – stamp image using black solvent based ink (StazOn). Let dry and smudge over Lemon Yellow Liquid Pearl Glaze. Leave the body of the butterfly untouched to make the black ink color pop out.
3. Distress embossing - stamp image using peeled paint distress ink. Pour dried marigold distress embossing powder and heat emboss. Paint over un-inked area with distress ink mixed with water and apply stickles on some of the upper and bottom areas.
4. Stamping with Paint – spread paint thinly over your craft sheet and push the stamp image gently. Once the design is fully covered with paint, stamp on the grunge paper and let dry. Apply stickles over the unlinked areas.
5. Distress Inks & Stickles Glaze – stamp image using solvent based ink (StazOn). Apply distress inks over the image (two colors used for top and bottom). Glaze stickles over the entire image and apply 2 gemstone blings.

f) Attach 3D foam tape at the back of the altered images.

g) Stick on the painted bottle caps and your TTT object is completed.

h) Here’s the complete set of TTT objects.

3. Top of Box Design
a) I kept the design of the box and used that as the base color of the cover. I used a strip of mask as a border at the bottom of the box and used distress ink.

b) Form the words “want 2 play ?” using masks and apply distress inks in the entire cover using two different shades.

c) Attach painted and stamped X, O, X chipboards at the bottom.

Here are the pictures of the completed project.

Do share your take with us, email us at artzdescrap@yahoo.com.sg
When you were kids, you probably played tic tac toe on a piece of paper by drawing two horizontal and vertical lines that cross each other to make a 9 square grid and writing X’s and O’s alternately. This is the traditional way of playing it. Using the same game mechanics, I just twisted it a bit by creating 3D X’s and O’s that aren’t actually letters but altered arts / objects just as long as you have two sets (5 pcs of each design) of objects. Now these 3D pieces actually go into a box that will be altered to show the square grids.
* Tic Tac Toe will be referred to as TTT for the rest of the contents of this document.
Materials / Supplies needed:
Square Box (any size of your choice depending on the TTT objects you will create)
Mask with 9 square grids (I used a coaster chipboard negative)
Stamp images for your TTT objects
Stamp images for the box design
10 bottle caps (plastic or metal)
Paints + Gesso
Dye Inks (e.g. TH Distress ink) / Solvent Inks (e.g. StazOn)
Grungeboard paper (chipboards may be used)
Stickles
Liquid Pearls
Embossing powder (colored and clear)
Embossing ink
Perfect Pearls
Heat Gun
Masks
Chipboard letters - X, O, X
Scissors
Paint brush
Double sided foam tape

Step-by-step instructions:
1. Altering the Box
a) Decide on what side of the box you want the square grids to be. I used the back of the top cover of the box. Paint the base with two coats of brown paint. Include the sides that are covered with the design. If you want a distressed look like me, I smeared the paint outside the four edges of the box. Let dry. Apply the same color on the inside of the box base.

b) Put non-permanent glue on the back side of the grid mask that will be used as the base board of the game and stick it to the dried and painted brown base (Step 1).

c) Mix 3 parts olive green paint with one part acrylic pearl medium to give the top coating a bit of shine. Paint over the mask (two coats) and let dry. Be careful to not dab too much paint because it can slip through the mask grids.


d) Stamp designs over the dried base board that coordinates to your TTT objects.

2) Creating the Tic Tac Toe Objects
a) Paint bottle caps with gesso. You don’t need two coats because the gesso will just serve as a base for your acrylic paint to sit on. Painting directly on the metal cap may result to chipping off over time. Let dry.

b) Paint the prepared bottle caps with desired acrylic color. Let dry.
*Do note that bottle caps were used as the base for the TTT objects for added dimension. If the thickness of the grunge paper or chipboard is a good enough dimension to you, you may skip these steps 1 & 2.

c) Choose the stamp design you want to use as the TTT objects (you will need two). I used a butterfly (Hero Arts) and a flower image (Basic Grey).

d) Stamp over the grunge paper and cut the shapes out.

e) You can use varying techniques on how to make the cut-out shape pop. Here’s what I did for both sets.
1. Emboss Resist - stamp the image using embossing ink and apply clear embossing powder. Heat emboss and paint with acrylic paint over the entire shape. Wipe with wet towel and apply perfect pearls on the body of the butterfly.
2. Liquid Pearl Glaze – stamp image using black solvent based ink (StazOn). Let dry and smudge over Lemon Yellow Liquid Pearl Glaze. Leave the body of the butterfly untouched to make the black ink color pop out.
3. Distress embossing - stamp image using peeled paint distress ink. Pour dried marigold distress embossing powder and heat emboss. Paint over un-inked area with distress ink mixed with water and apply stickles on some of the upper and bottom areas.
4. Stamping with Paint – spread paint thinly over your craft sheet and push the stamp image gently. Once the design is fully covered with paint, stamp on the grunge paper and let dry. Apply stickles over the unlinked areas.
5. Distress Inks & Stickles Glaze – stamp image using solvent based ink (StazOn). Apply distress inks over the image (two colors used for top and bottom). Glaze stickles over the entire image and apply 2 gemstone blings.

f) Attach 3D foam tape at the back of the altered images.

g) Stick on the painted bottle caps and your TTT object is completed.

h) Here’s the complete set of TTT objects.

3. Top of Box Design
a) I kept the design of the box and used that as the base color of the cover. I used a strip of mask as a border at the bottom of the box and used distress ink.

b) Form the words “want 2 play ?” using masks and apply distress inks in the entire cover using two different shades.

c) Attach painted and stamped X, O, X chipboards at the bottom.

Here are the pictures of the completed project.

Do share your take with us, email us at artzdescrap@yahoo.com.sg
Thursday, October 1, 2009
Alter a Metal Tin
Are you ready for
Artz de Scrap's October Challenge?
Artz de Scrap's October Challenge?
Challenge: To alter a Metal Tin
Colour Theme: Halloween / Purple, Orange, Black
We can't wait to see your takes on this challenge!
Do link your submissions (on your blog) in the comments section
and email us a copy to artzdescrap@yahoo.com.sg for a chance to win
a wonderful RAK from our sponsor.
Here are our DT's takes for this Challenge!
Designer Cabbie's Cute and Distressed Altered Metal Tin!
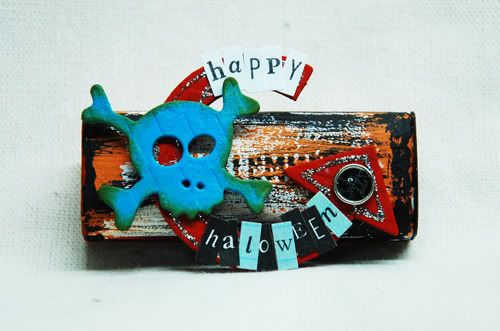
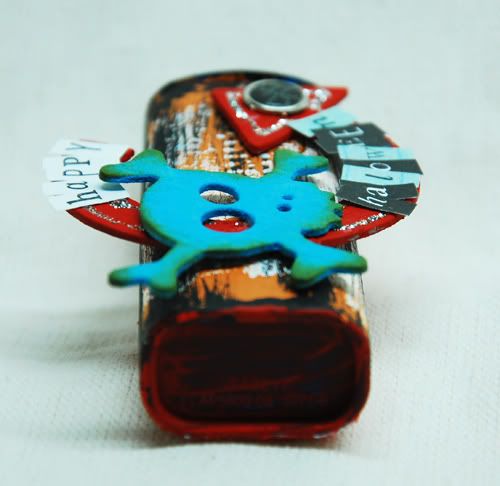
and email us a copy to artzdescrap@yahoo.com.sg for a chance to win
a wonderful RAK from our sponsor.
Here are our DT's takes for this Challenge!
Designer Cabbie's Cute and Distressed Altered Metal Tin!


Subscribe to:
Comments (Atom)


