Here are the entries we received...
Tuesday, April 20, 2010
Thursday, April 15, 2010
April 2010 Inspirational Scrapper
Artz de Scrap's Chosen Inspirational Scrapper for April 2010 is our very own Resident DT
I am cabbie lopez and I am a stay at home mom to 4 boys. I started scrapbooking 4 years ago but ever since I was a kid, the world of arts has already placed a special tag in my heart. Aside from doing layouts, I also alter things, do minibooks, cards, atcs and love to experiment with different techniques. I am also a design team member for different sites and a staff contributor for scrapbook news and review online magazine. My style can be flexible but i am more into the shabby, eclectic and vintage edge. scrapbooking has opened a lot of possibilities for me because its not only about doing and creating, but its also about attaining friendships both online and local which up to this present time holds a very dear place in my life.
Note Holder Tutorial
Materials / Supplies needed:
For the outer cover ( cardstock ) : 3 ½ x 7 inches
For the inner holder ( pattern paper ): 6 ½ x 7 inches
Scor‐it or any scorer
Embellishments/ die cuts
Ribbon
Double-sided tape
Instructions:
1. Prepare your papers.

2. Score the cardstock at 3 ½ and 4 ¼.

3. Fold the scored area.

4. Score the pattern paper with the shortest side on the upper portion, at ½ inch and at 3 ½.

5. Fold the scored ½ inch area and fold the remaining scored area just enough to close.

6. Adhere double sided tape on the ½ inch area.

7. Fold over so that the folds appose each other.

8. Place the folded pattern paper horizontally ( the adhered part facing you) and score at 3 ½ and 4 ½. This will create a 1 inch space on the middle. Fold it.


10. Adhere the folded pattern paper to the cardstock. Be sure to check if it is centered.

11. Use puncher for the outer edges.

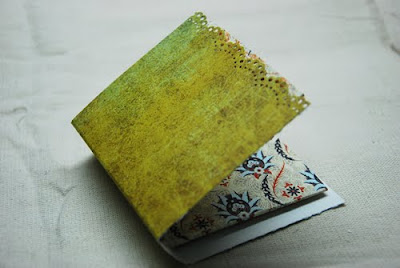
FINISHED PRODUCT : you can add embellishments like diecuts or chipboards. Tie the note holder with ribbon.

Here are our takes for this tutorial.
Do share your take with us, email us at artzdescrap@yahoo.com.sg
For the outer cover ( cardstock ) : 3 ½ x 7 inches
For the inner holder ( pattern paper ): 6 ½ x 7 inches
Scor‐it or any scorer
Embellishments/ die cuts
Ribbon
Double-sided tape
Instructions:
1. Prepare your papers.

2. Score the cardstock at 3 ½ and 4 ¼.

3. Fold the scored area.

4. Score the pattern paper with the shortest side on the upper portion, at ½ inch and at 3 ½.

5. Fold the scored ½ inch area and fold the remaining scored area just enough to close.

6. Adhere double sided tape on the ½ inch area.

7. Fold over so that the folds appose each other.

8. Place the folded pattern paper horizontally ( the adhered part facing you) and score at 3 ½ and 4 ½. This will create a 1 inch space on the middle. Fold it.


10. Adhere the folded pattern paper to the cardstock. Be sure to check if it is centered.

11. Use puncher for the outer edges.


FINISHED PRODUCT : you can add embellishments like diecuts or chipboards. Tie the note holder with ribbon.

Here are our takes for this tutorial.
Do share your take with us, email us at artzdescrap@yahoo.com.sg
Thursday, April 1, 2010
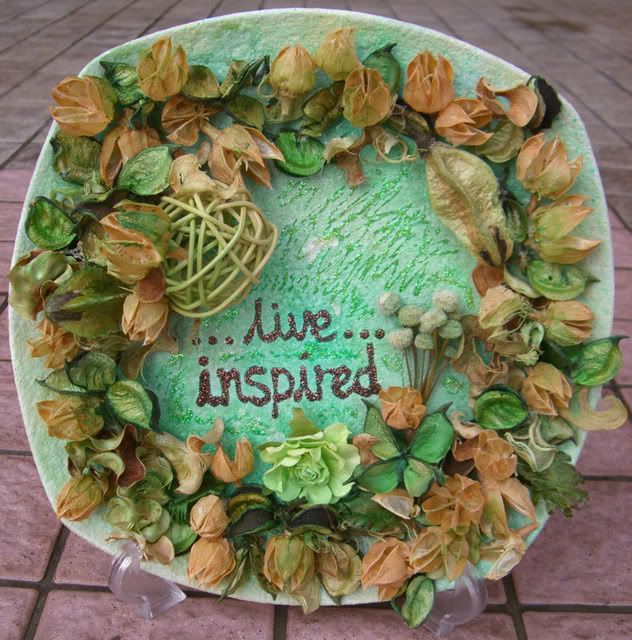
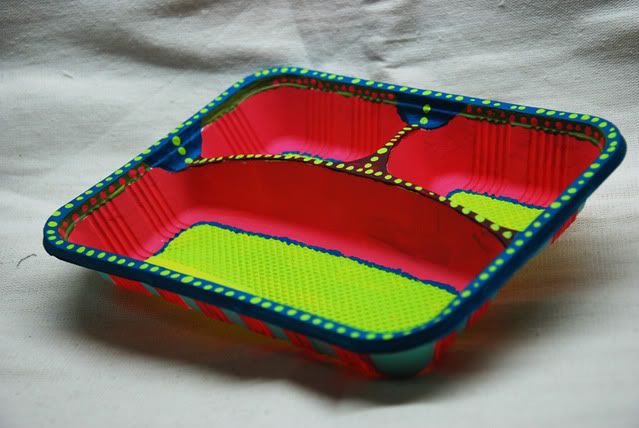
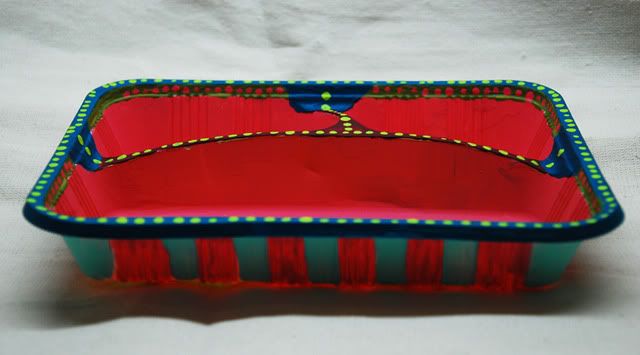
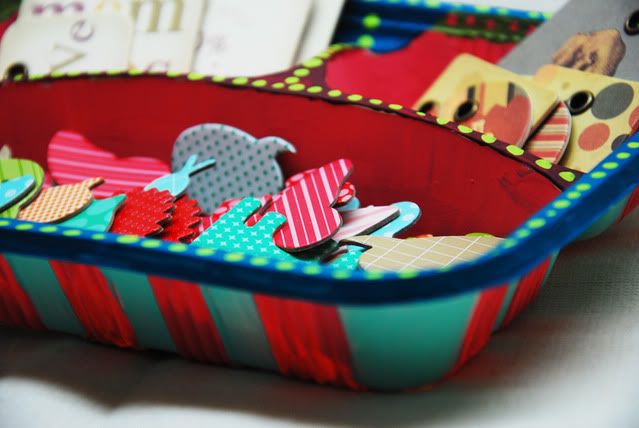
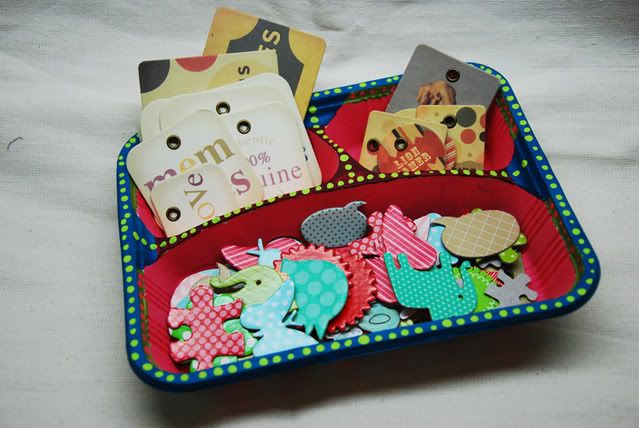
Altered Plate Challenge
Are you ready for
Artz de Scrap's April Challenge?
Artz de Scrap's April Challenge?
Challenge: Alter a Plate
We can't wait to see your takes on this challenge!
Do link your submissions (on your blog) in the comments section
and email us a copy to artzdescrap@yahoo.com.sg for a chance to win
a wonderful RAK from our sponsor.
Here are our DT's takes for this Challenge!
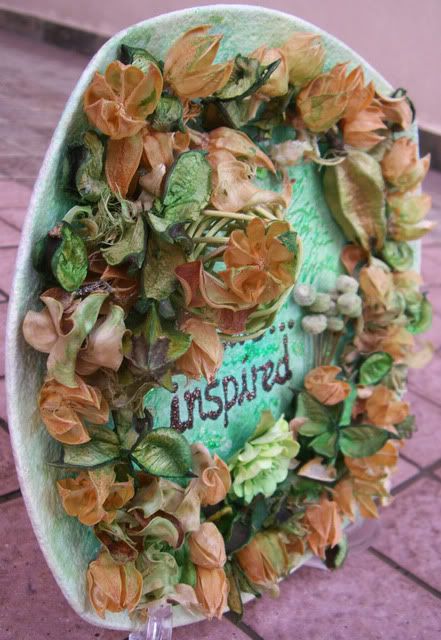
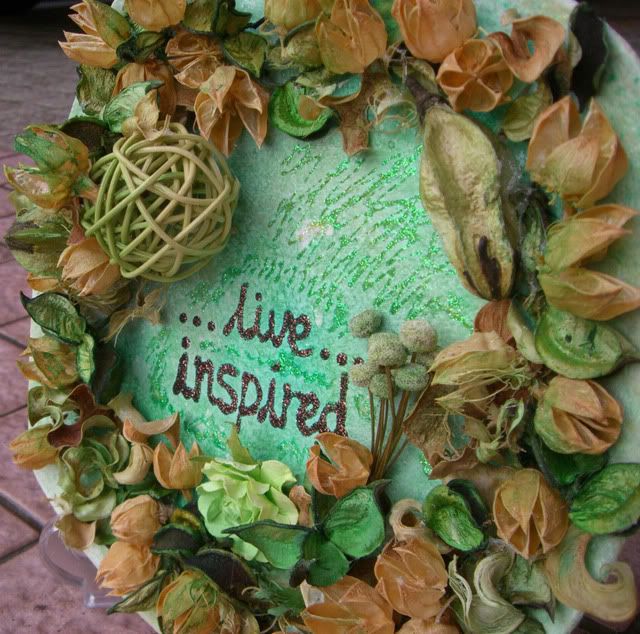
Designer Cabbie's Altered Paper Plate!
and email us a copy to artzdescrap@yahoo.com.sg for a chance to win
a wonderful RAK from our sponsor.
Here are our DT's takes for this Challenge!
Designer Cabbie's Altered Paper Plate!


Subscribe to:
Comments (Atom)


