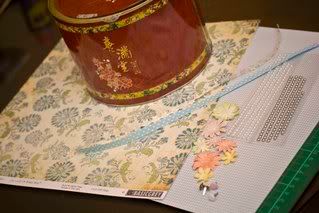
Supply list:
Metal Tin
Pattered papers
Ribbons
Flowers
Pearls / Blings
Adhesives
Scissors
Paper Cutter
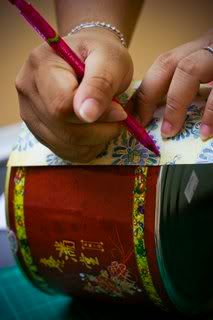
Step 1: Measure the height of your tin.
Step 2: Cut the paper according to the measurements. If your paper is not enough to go around the tin, you would have to attach another piece to join it.
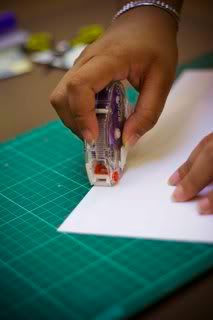
Step 3: Apply adhesive tape to your paper.
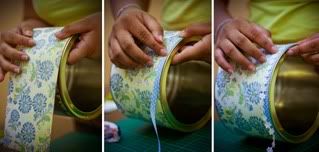
Step 4: Paste the paper to the tin. Next paste the ribbons.
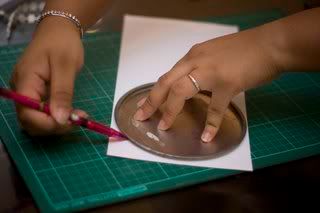
Step 5: Measure the cover.
Step 6: Cut the paper for the cover & you will also need a flower cut-out to be placed at the round paper as part of your embellishments. Arrange your embellishments accordingly & this is how it should look like.
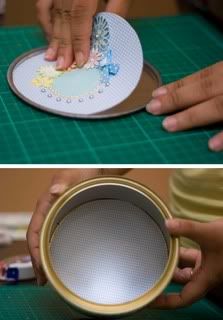
Step 7: Paste the round paper to the cover. For the inner part of the tin, I cut another round paper for it.
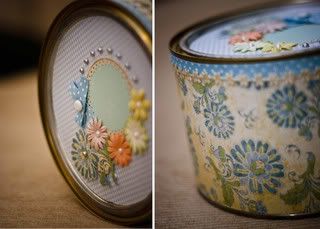
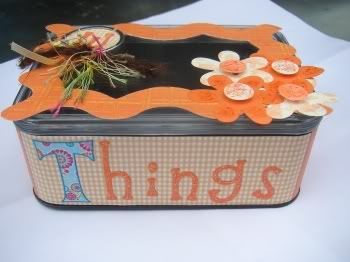
And this is the finished tin
I hope you'll try out this simple tutorial!
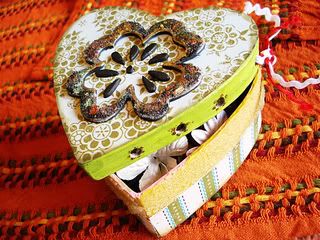
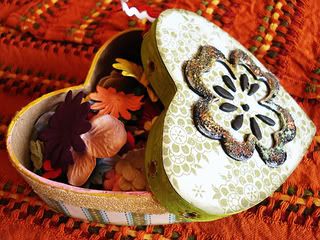
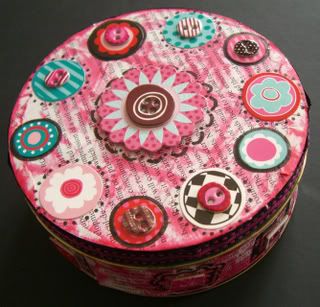
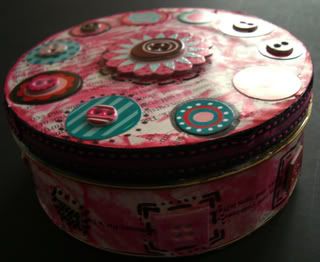
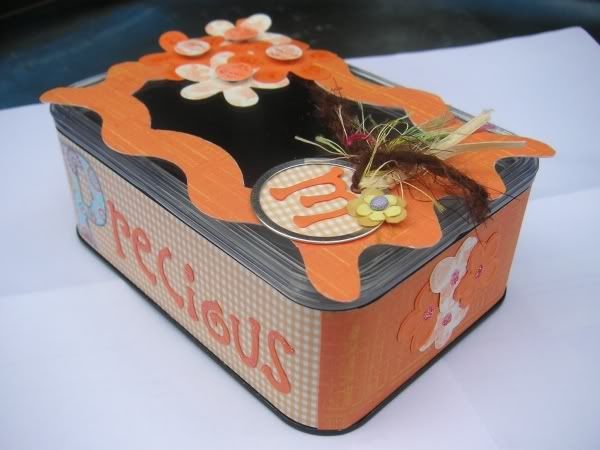
This is our takes:
Cabbie's
Felicia's
Liza's
We would love to see your take on this tutorial.
Do share it with us, email us at artzdescrap@yahoo.com.sg
Happy Altering!!!






4 comments:
lovely takes on jc's tutorial!!!
love takes ladies! :)
Wow, you ladies definitely did amazing job on your altered tins! WTG!!
Thanks Liza for featuring me :)
I love all the takes on this one! I had fun doing it and thank you Jessy our Inspirational Scrapper for the great tutorial!
Post a Comment