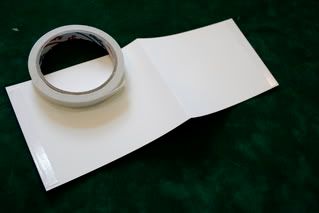
Things you would need
Chipboard covers (I have used 6.5 by 6.5 inches here)
One chipboard strip for the spine of the album
Paper for inside of the album
(I have cut mine to 4.5 by 12)
One pipe cleaner (for threading the pearls through)
Pearls
Glue
Scissors
Crop-a-dile or anything you can make a hole with
Scorer
Step 1:
Measure half an inch off the square chipboard cover on side and cut the excess away as in pic.
Step 2:
Cover the chipboard with patterned paper.
Step 3:
Add the spine to the 2 covers, add double sided tape to both side to adhere the spine to the covers and remove the double sided tape.
Step 4:
Cover the spine with patterned paper.
Step 5:
Thread the pearls through the pipe cleaner.
Step 6:
Make holes in the spine and thread the strand of pearls through and secure.
Step 7:
Score the paper for the album inside into half.
Step 8.
Create a simple accordion by sticking the ends of the pages together.
Step 9:
Stick on the pages to the covers and voila you have a simple purse album.
Step 10:
Decorate as you please....
We are pleased to inform you that this purse album will be our next Challenge (#10) for September.
Do visit us back on the 1st of Sept for this challenge and be sure to be the first to register for the giveaways!


7 comments:
great tutorial michelle! we get our very own album made from scratch! :)
Thanks Felicia - its nice to make our own once and a while and its a meaningful gift too...
Woo hoo!! Beautiful tutorial!
The purse is so sweet! thanks for this tutorial! Looks like J getting a new 'purse' soon :)
Great tutorial, Mich!! I'm going to give this a try
wow this is such a beautiful purse.
Thanks Ladies...
Post a Comment