
illustration board (may be substituted with cardstock or chipboard); patterned paper; acrylic paint; paintbrush or foam brush; embellishments; rickrack or ribbon (not in photo are letter stickers and adhesive).
Step-by-step instructions:
1. Think of the theme for your banner. (My son's 5th birthday is in April.) Gather your materials for your theme.
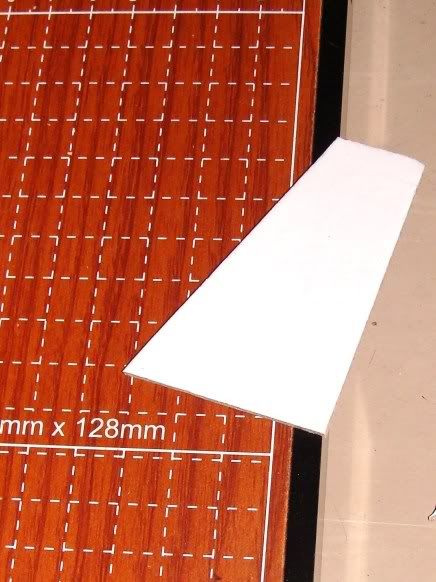
2. Count how many individual pieces you need for your banner and cut illustration board into small triangles. Here's a trick for cutting triangles: First cut into small rectangles. Cut from one corner to the middle of the opposite side.
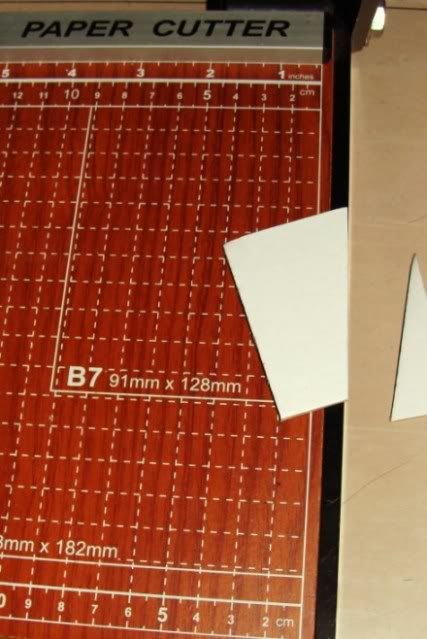
Invert and cut starting from what used to be the middle of the opposite side to the other corner.

3. Cover cut triangles with patterned paper. It's better if you cut from the back side of the triangle so that you don't cut the edges too closely. Sand edges from the front of the triangle.

4. A trick for applying rickrack or ribbon is you cut cardstock or cardboard the same size as the back of the triangle. Sandwich the rickrack or ribbon between the back of the triangle and the cardstock or cardboard.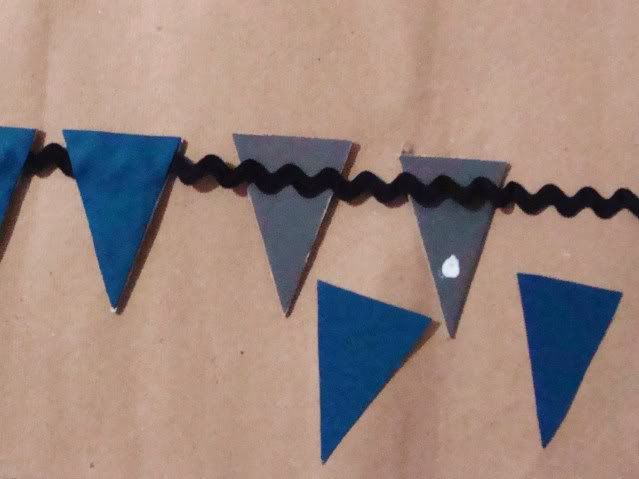
5. Decorate triangles with the individual letters and/or numbers as well as embellishments for your theme. Some fun themes could be "create", "inspire" or even occasions like anniversaries or Halloween.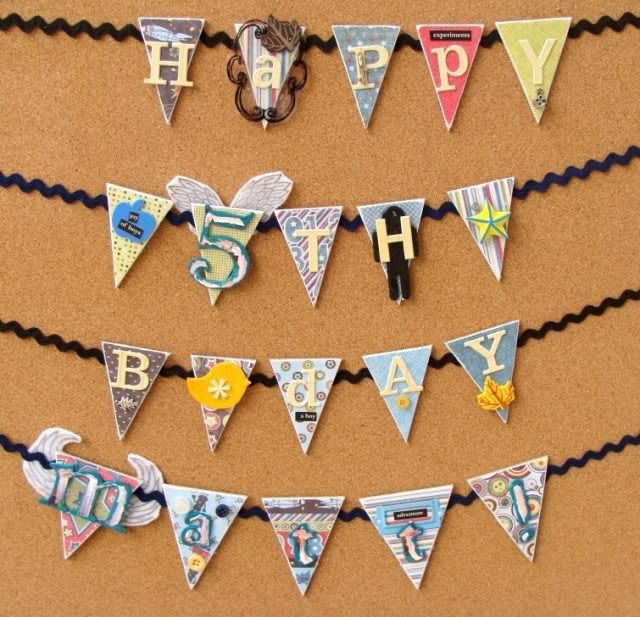
Have fun!
Here are our takes for this tutorial




7 comments:
Great takes, ladies! Your work is inspirational as well!
Love what everyone came up with! Beautiful banners!
great work ladies!! :)
Wow Beautiful takes on the tutorial.. I love banners, and I heart Artz de scrap!
Beautiful banner Nina! GREAT work ladies !!!
thanks for the tuto...and the fab work by the DT
my banner is on my blog
http://laury55.blogspot.com/2009/04/banner.html
Post a Comment