Materials/Supplies needed:

- 8" x 4 1/2" illustration board/chipboard/heavy board
- 5" x 3" illustration board/chipboard/heavy board
- 8" x 12" corrugated board
- Prima Accents brad or any brad (eyelet can also be used)
- Maya Road scrolls chipboard, painted with brown acrylic,
- with Doodlebug Sugar Coating glitter
- Cropadile/one-hole puncher
- Stapler + Staple wires
- glue
- Patterned paper
- Stamp ink
- Embellishments such as flowers, leaves, lace, etc.
- Scissors
- Ruler
Step-by-step instructions:
1. Cut the 5" x 3" board into a flag. Make sure that the pole side is at least 1- 1 1/4". Make the end of the pole rounded.

2. Roll the corrugated board tightly, then release. This will allow the board to be bent.


3. Fold about 1/2" of the corrugated board on both ends inwards. Staple each of the folded sides to the 8" x 4 1/2" heavy board. This will make the mailbox shape.


4. Punch a hole at the rounded end of the flag-shaped board and attach to one side of the mailbox with a brad.


5. Glue patterned paper on the mailbox and the flag. This completes the basic mailbox.


6. To distress the paper and the corrugated board, lift some edges of the paper, together with the top layer of the corrugated board, pull and start tearing it away from the mailbox. A few tears make the mailbox interesting. To highlight the corrugated board, you can also rub the stamp pad against the exposed parts and paper edges.

7. Embellish with flowers, leaves, lace, scrolls, etc. if desired. The completed mailbox can be used to keep messages on a desk. Enjoy making your own!


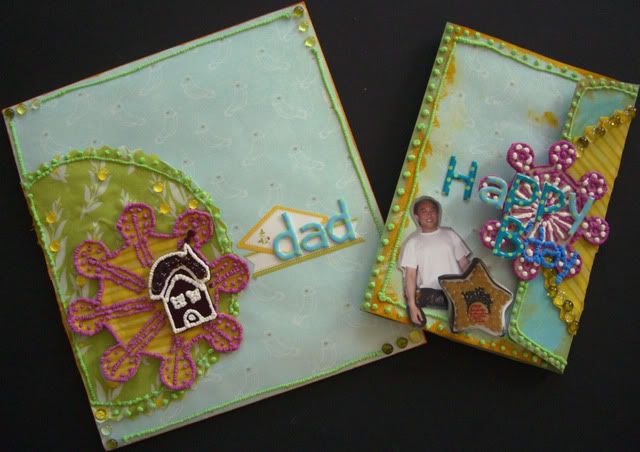
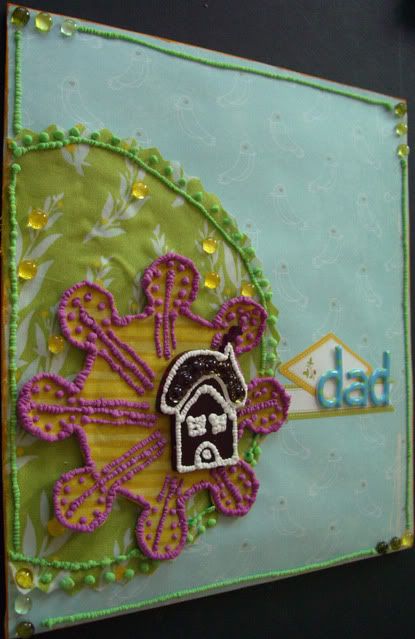
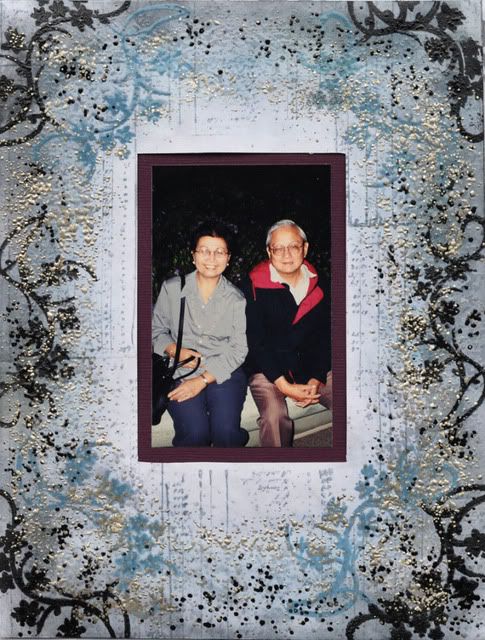
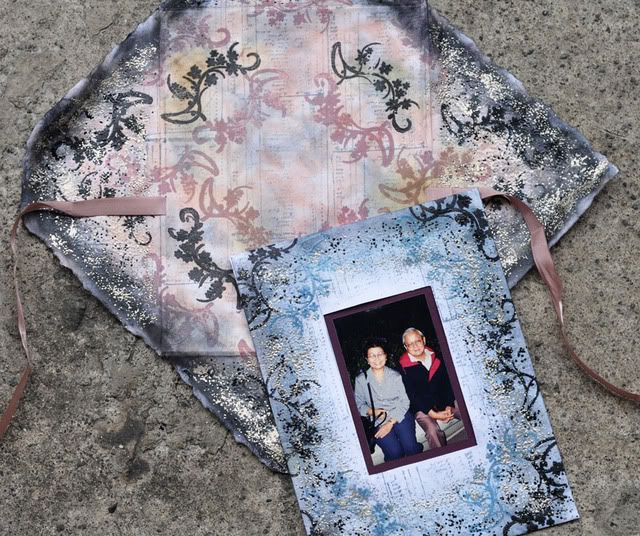
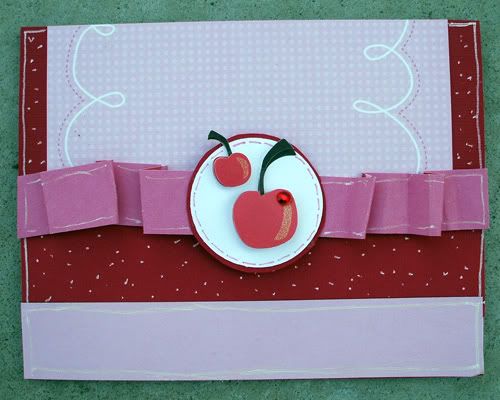
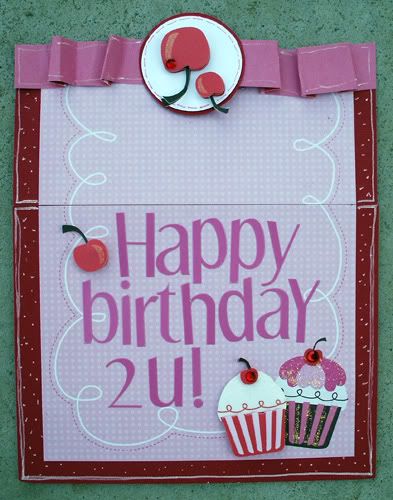
Here are our takes for this tutorial
Do share your take with us, email us at
artzdescrap@yahoo.com.sg


