Materials Needed: Old standing calender, glimmer mist, doiley lace, crackle paint, glimmer mist and embellishments of your choice
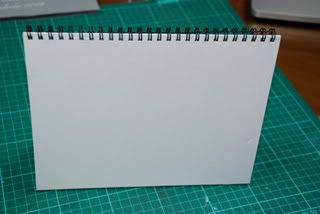
Step 1 - Tear off the pages of a desk calendar. We shall we be working our
alteration on the standing unit that is left of the calendar (as shown).
Step 1 - Tear off the pages of a desk calendar. We shall we be working our
alteration on the standing unit that is left of the calendar (as shown).
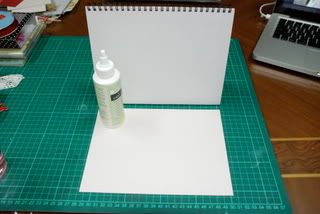
Step 2 - Cut a piece of cardstock that measures one side of the calendar and
glue it on to that side. You can choose to omit using cardstock if you
wish.
glue it on to that side. You can choose to omit using cardstock if you
wish.
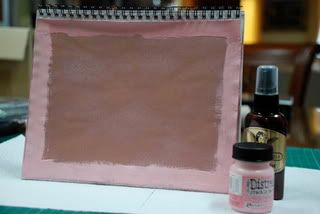
Step 3 - Spray a coat of glimmer mist onto the cardstock and let it dry. Then
paint the sides with crackle paint and then let this dry too.
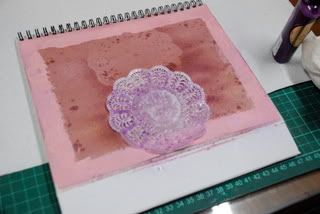
Step 4 - Use a small paper doiley and place it on the cardstock surface and
spray another colour of glimmer mist (a darker colour than the base
would show better) over the doiley.
Step 5 - Spray over the sides of the doiley so that you can see the pattern of
the doiley (where the doiley acts as a mask). Repeat this same step on
different parts of the cardstock. Let this dry.
Step 6 - Use chipboard letters,
Thickers, die-cut alphas or any letters to decorate your altered sign.
Then embellish away.
Have fun with this AWESOME tutorial!
Here are our takes for this tutorial
Do share it with us, email us at artzdescrap@yahoo.com.sg
Happy Creating!!!





6 comments:
Cool takes on the tutorial ladies! :)
oh wow!! Love all the different creations here!! You ladies are just totally inspirational!!
Wow.
I love what you ladies did with the tutorial.
They are all so different.
I cant wait to see what the rest of you create!
Great takes! It is so inspiring to see how creative and how unique each one's ideas are!
Great post and its really nice to see the explanation are in proper steps that would me easy to work on it and learn more about this.
I want to be creative like you. will try this.
For information on ID system and ID card software, visit Safecard ID
Post a Comment